Easy Origami Santa Claus
One of my volunteer projects is teaching English at a school for children with developmental disabilities. I love the kids, but when I was planning to make some small origami presents for them for our Christmas lesson, I also knew some of them would take the paper apart in seconds. Therefore I wanted to make something quick and easy that still looked cute. Combining a view other Santa Claus folding techniques I ended up making these easy Santas.
Here is how it works:
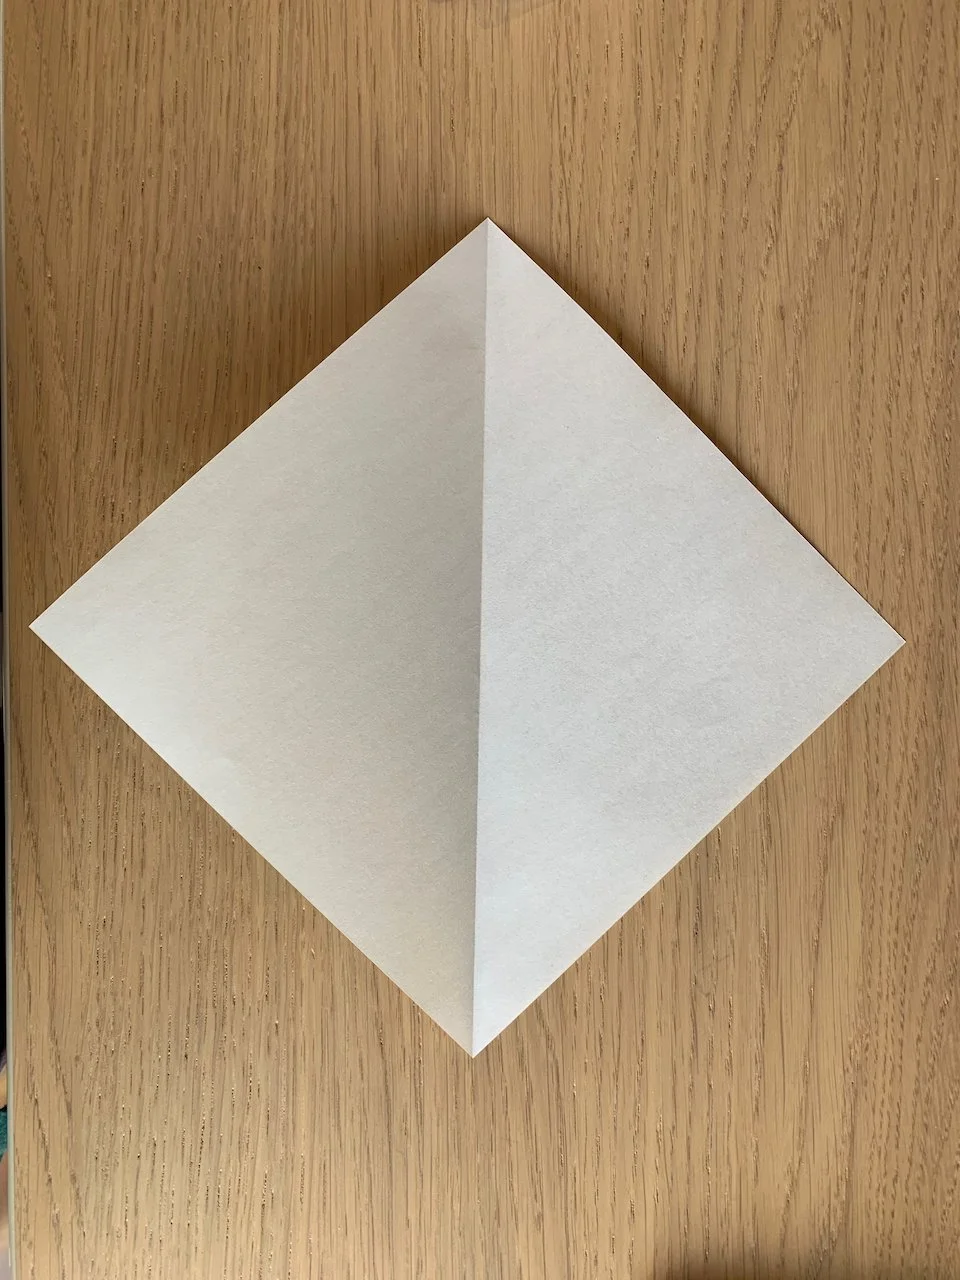

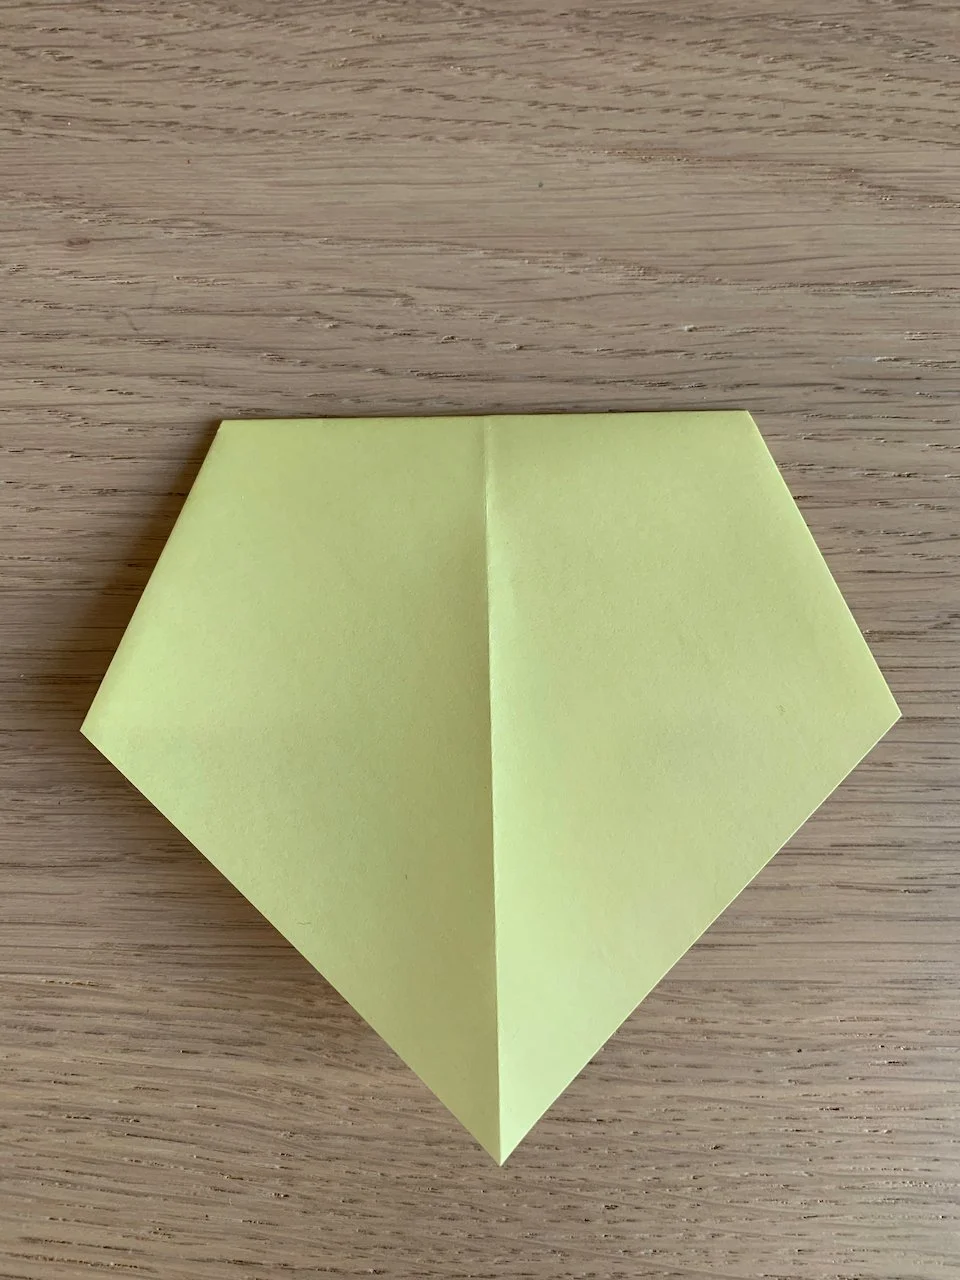
Fold your origami paper in half, crease and open. Then fold opposite corners into the crease so that it looks like a kite.
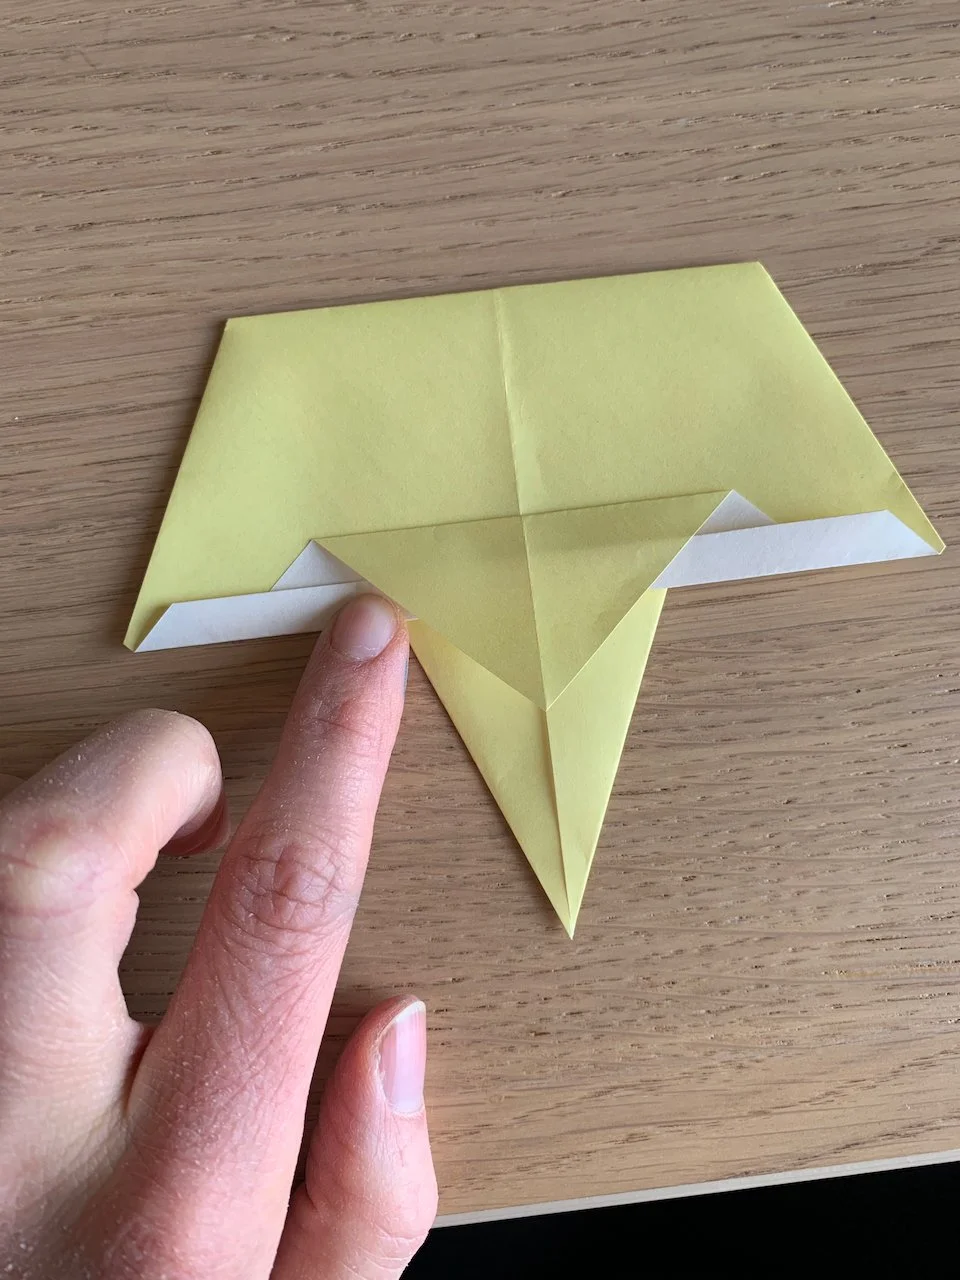
Fold the tail up, and turn the paper around.


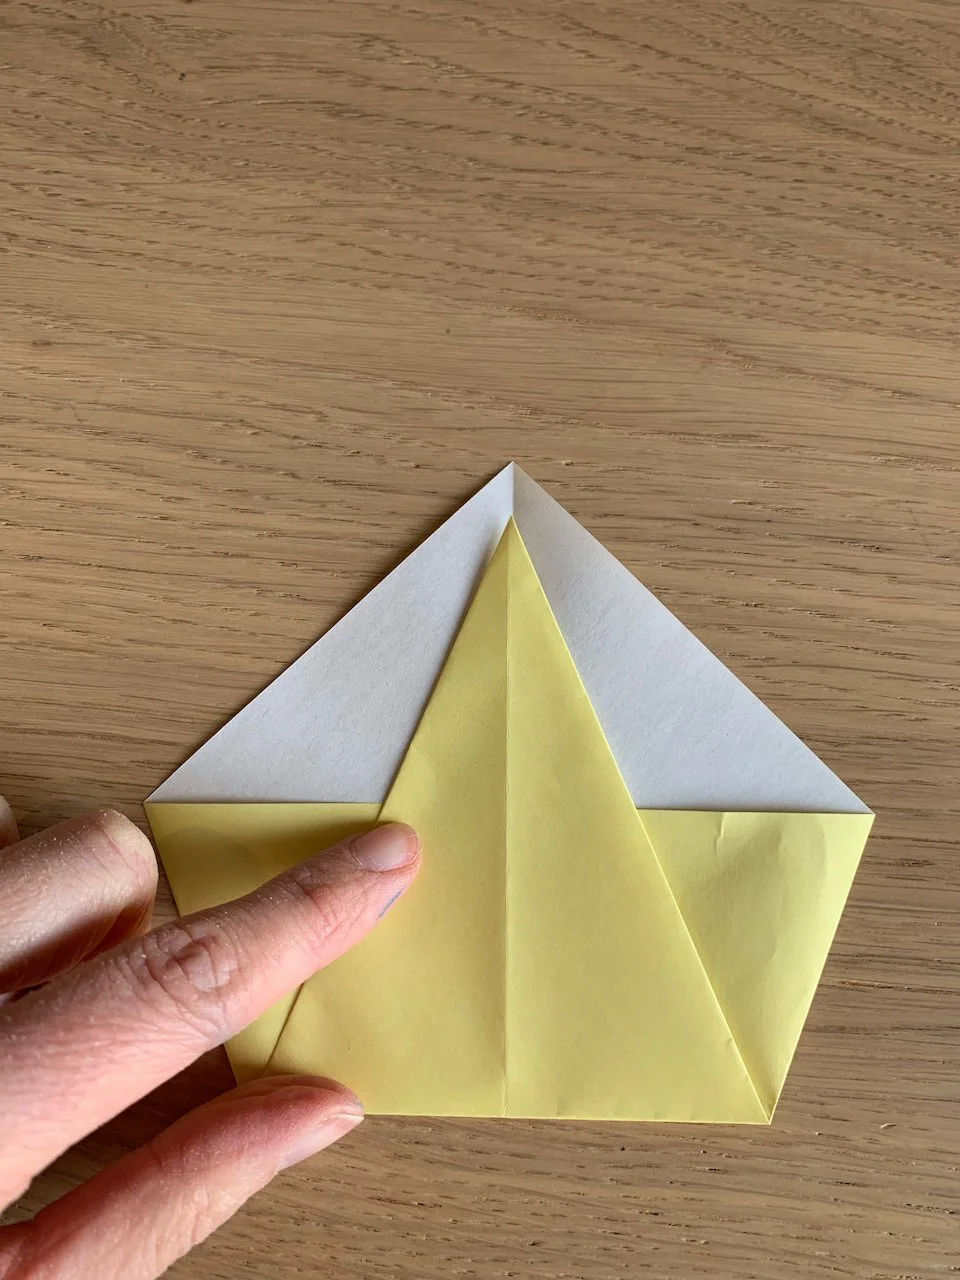
Fold the top layer up so it almost reaches to top edge. Then, fold another small stripe up.

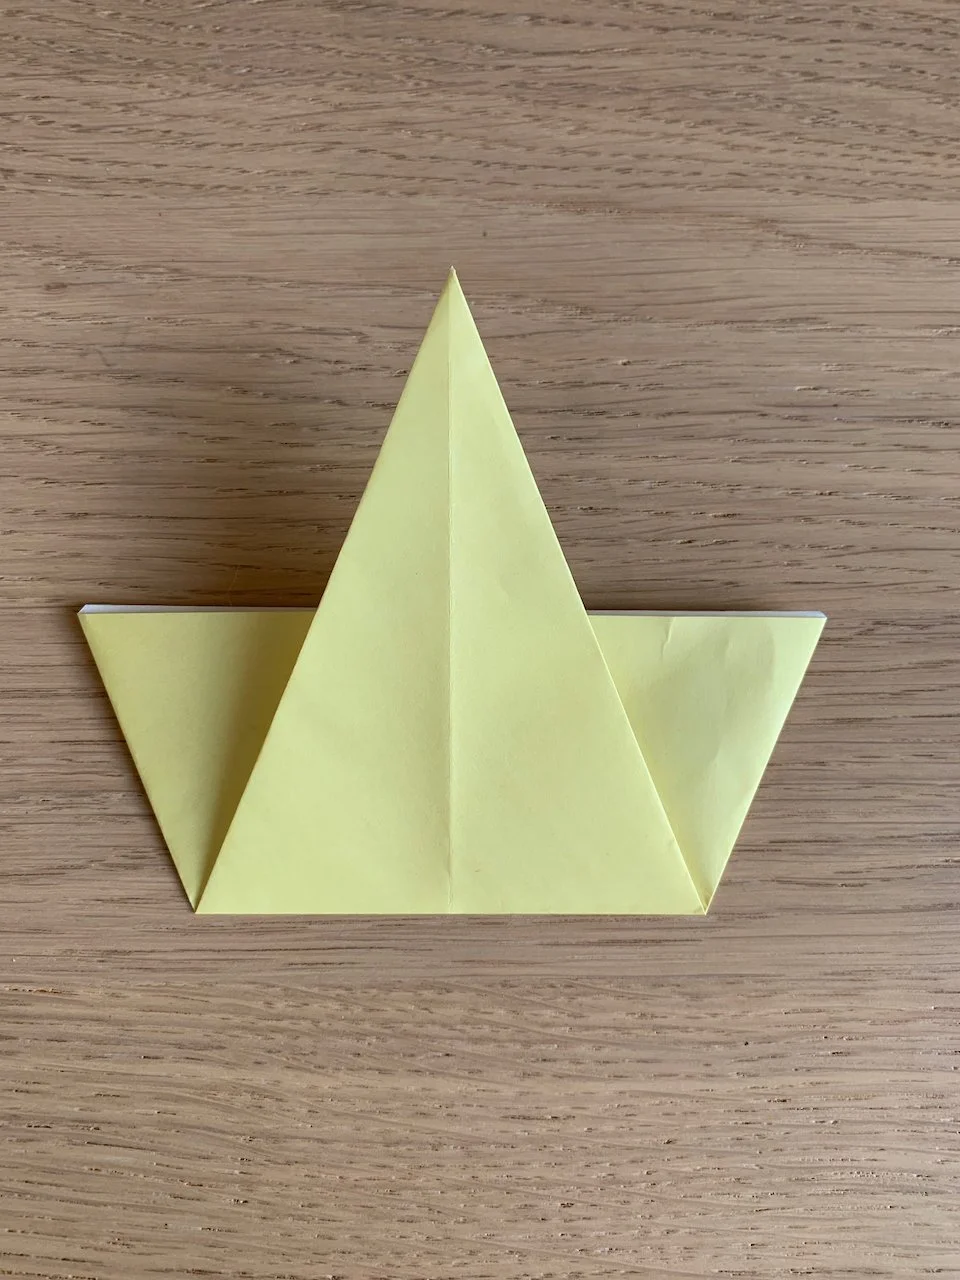
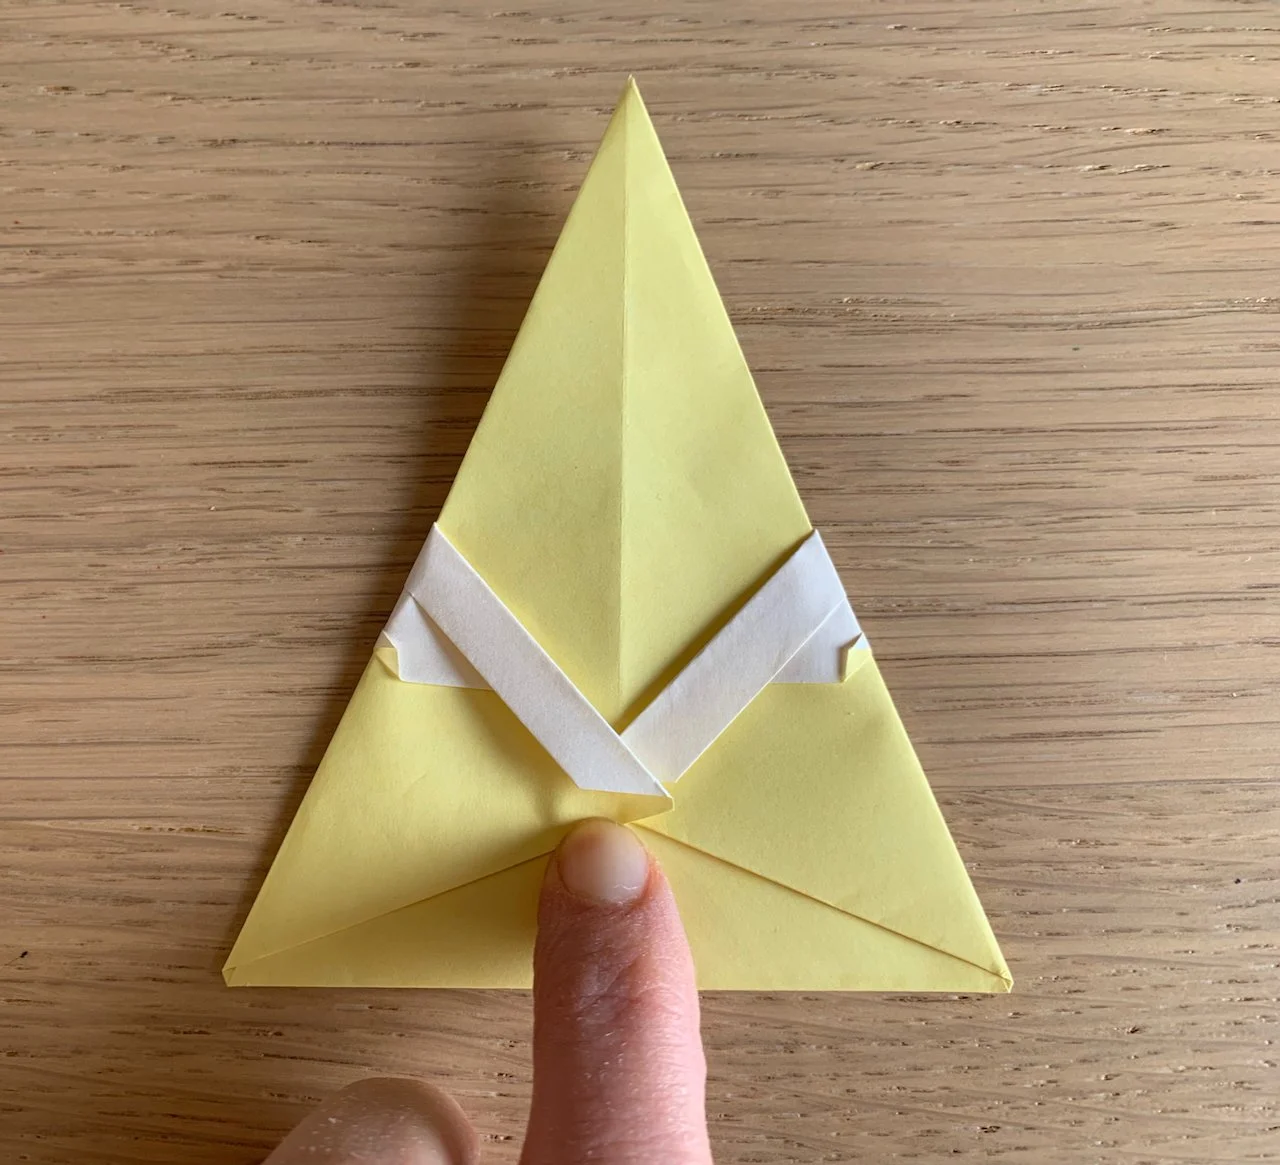
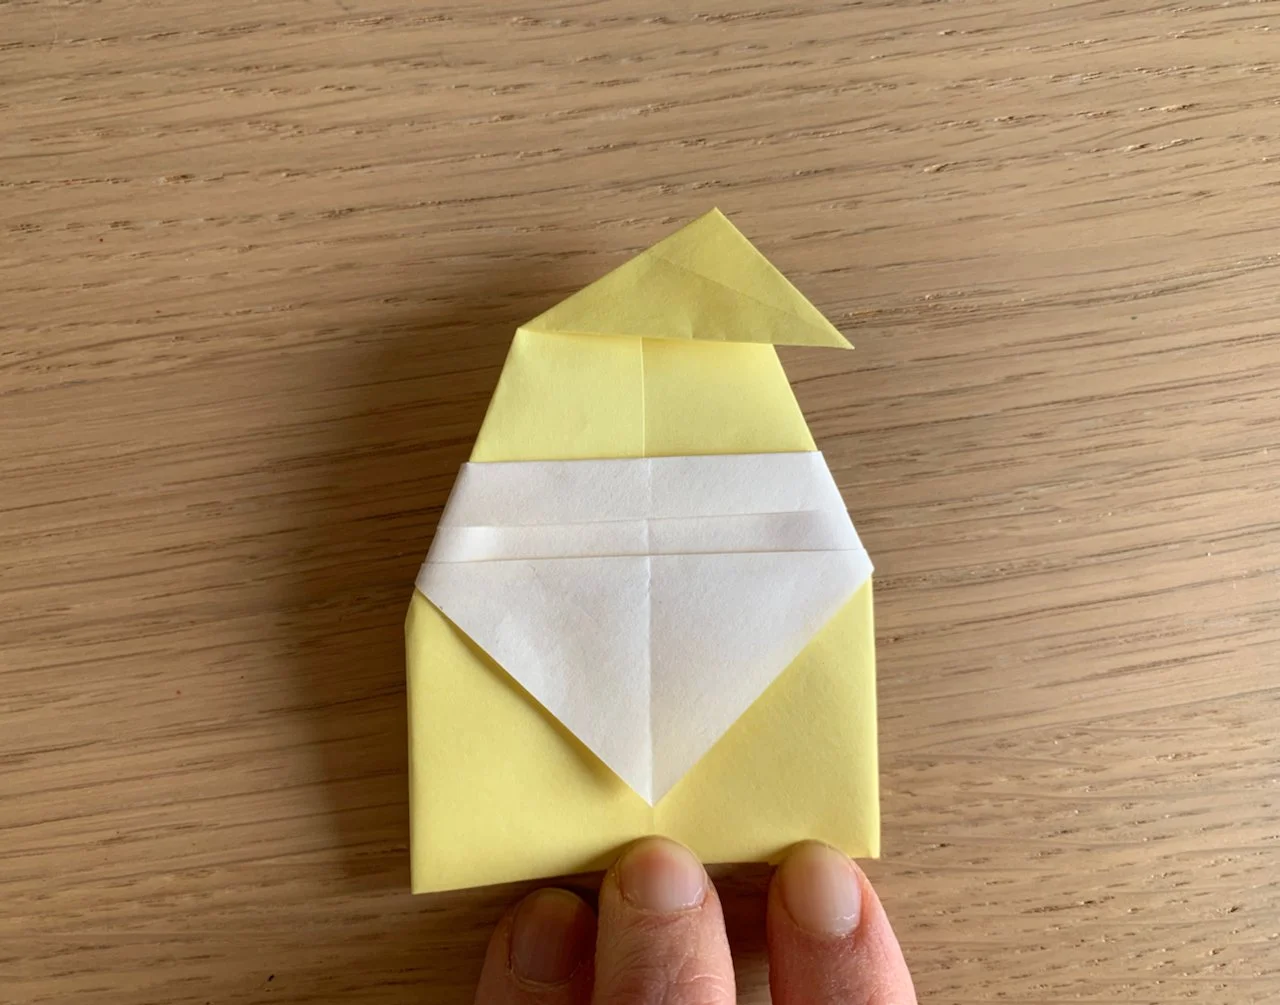
A few millimetres away from your stripe, fold the upper triangle down. With a little offset, fold it back up.
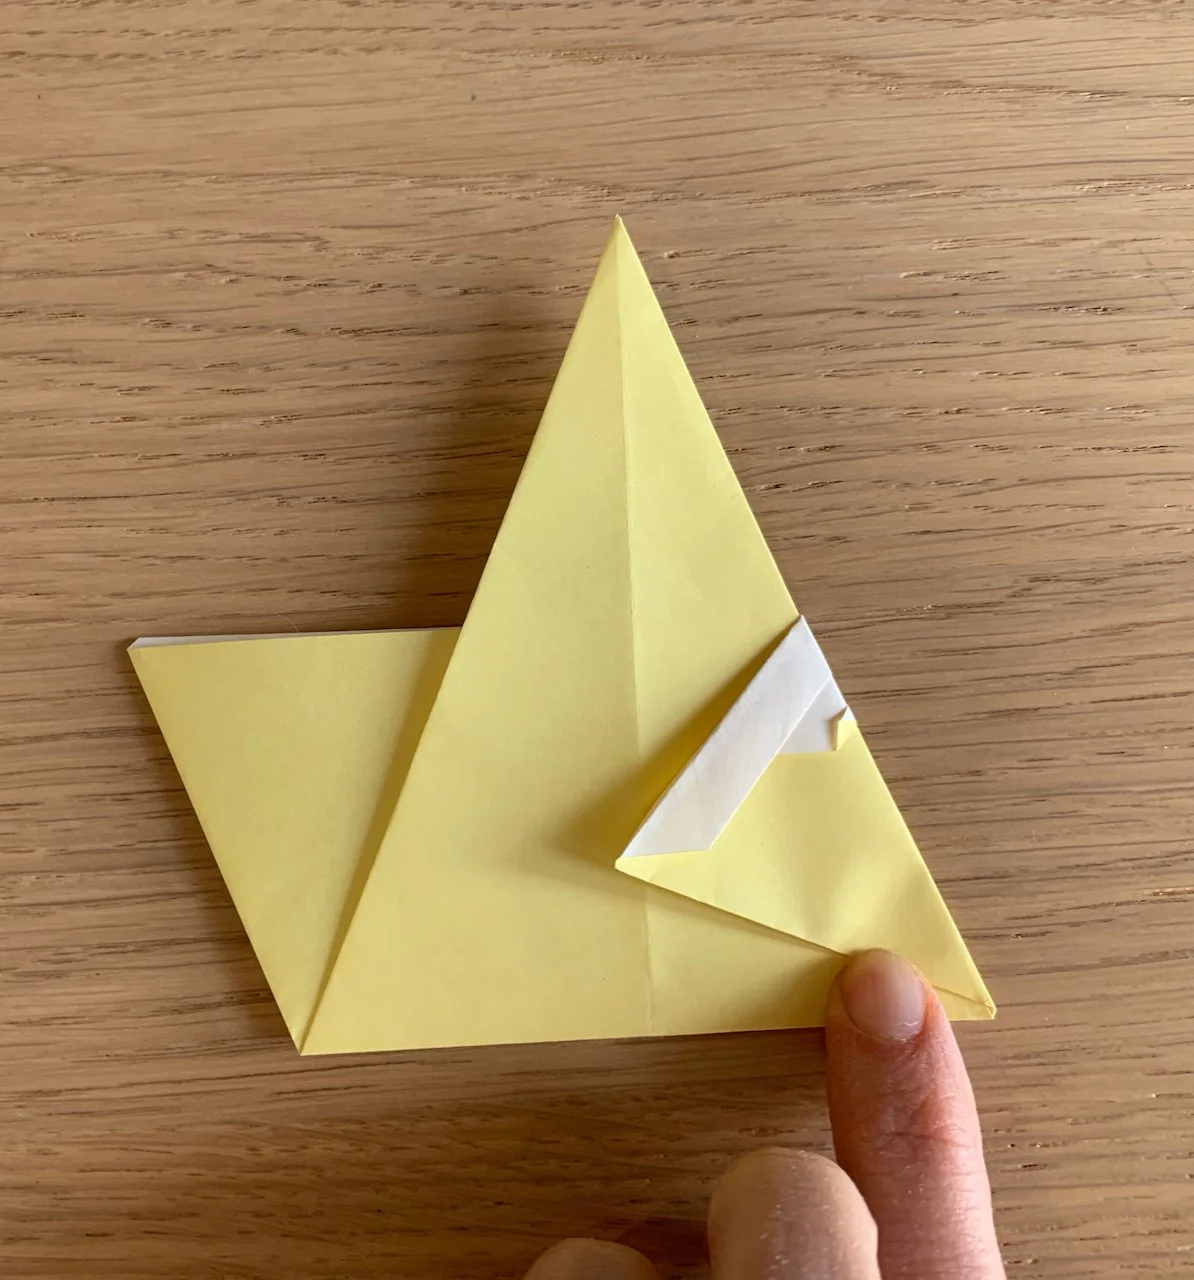
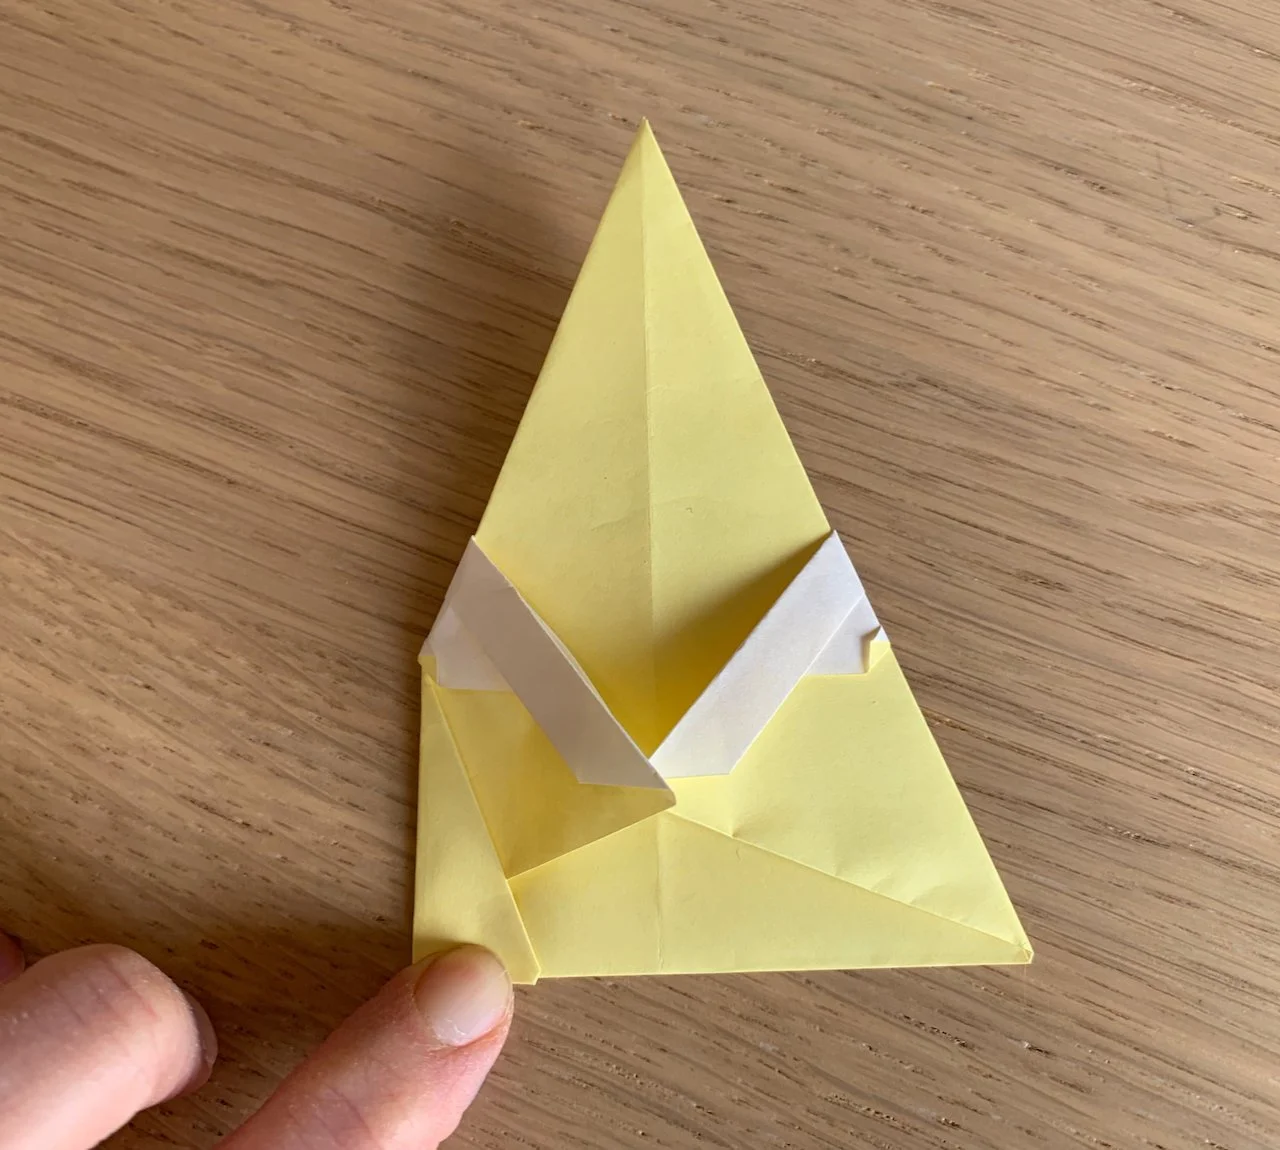
Now turn the paper around again. Fold in the flaps on the right and left side in.
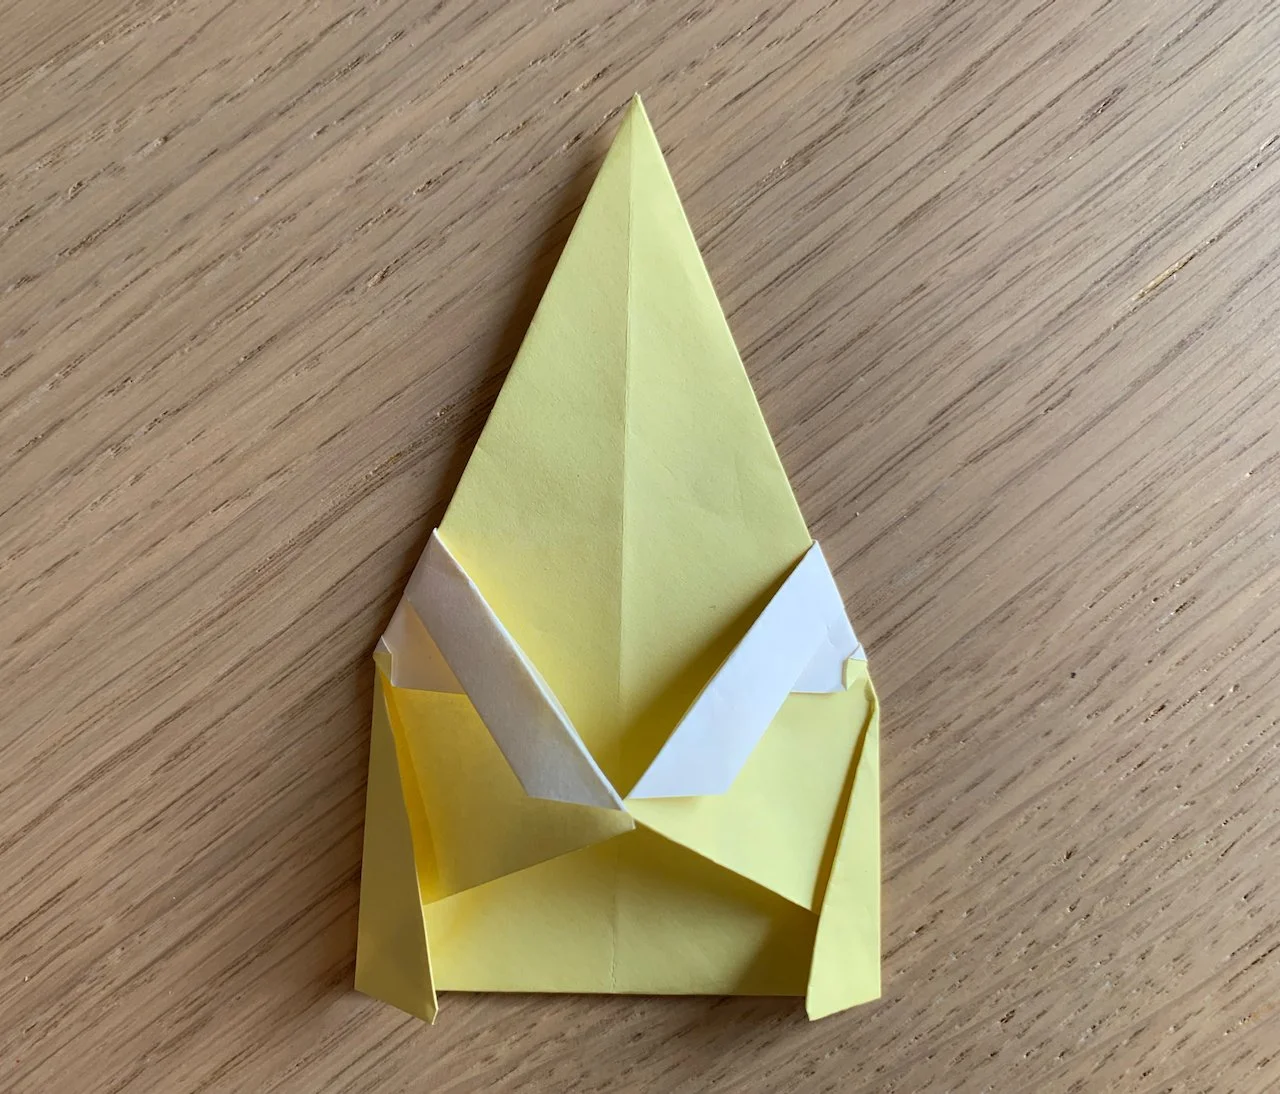
If you don’t prefer your Santa to be triangular shaped, fold the left and right corner in.
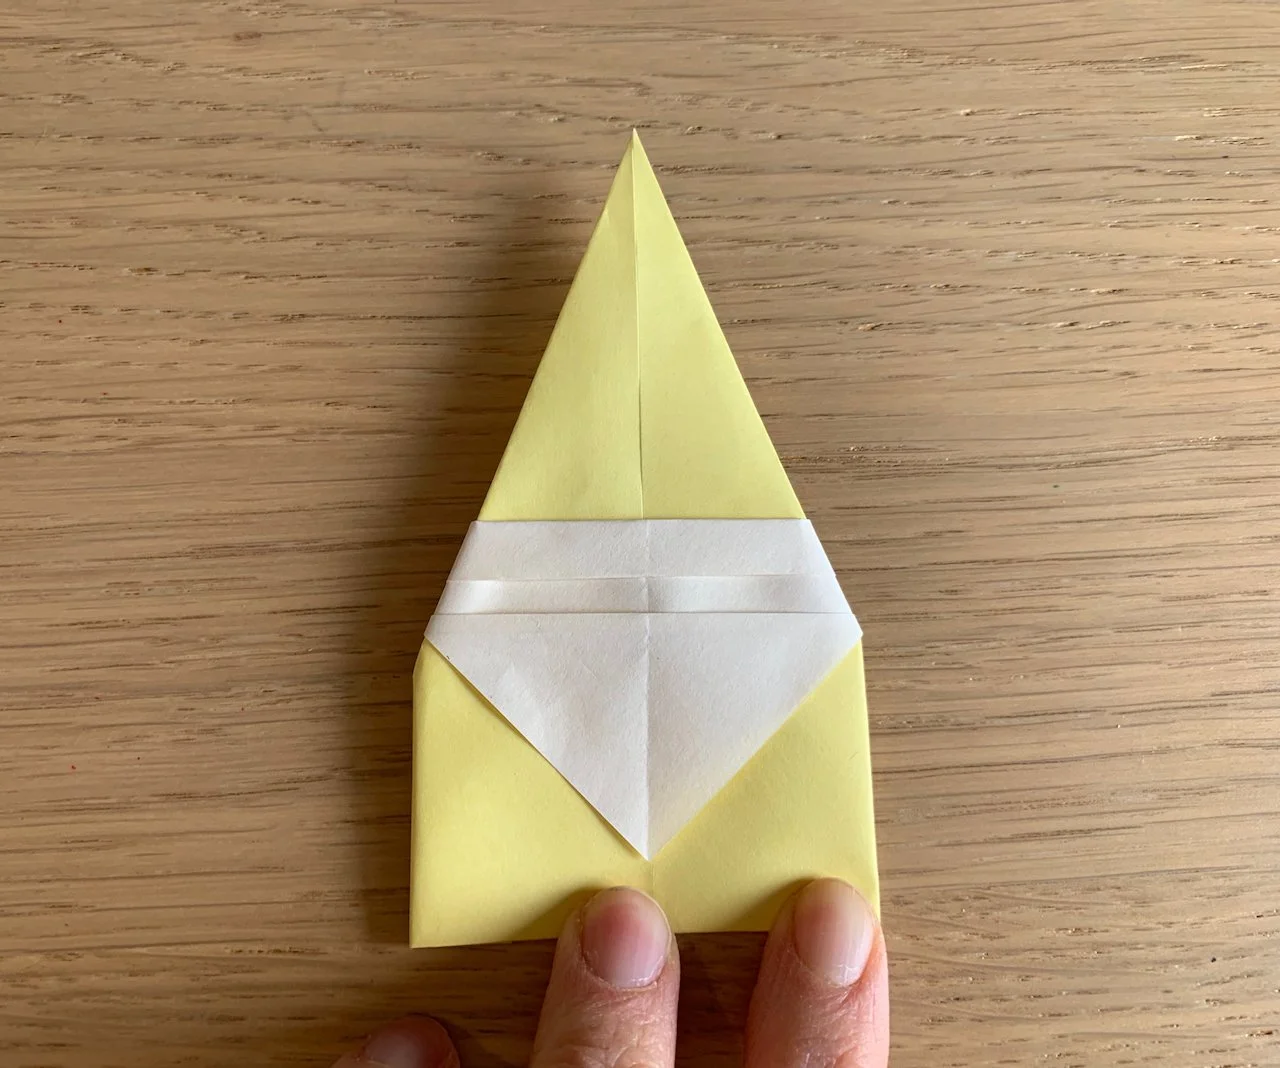
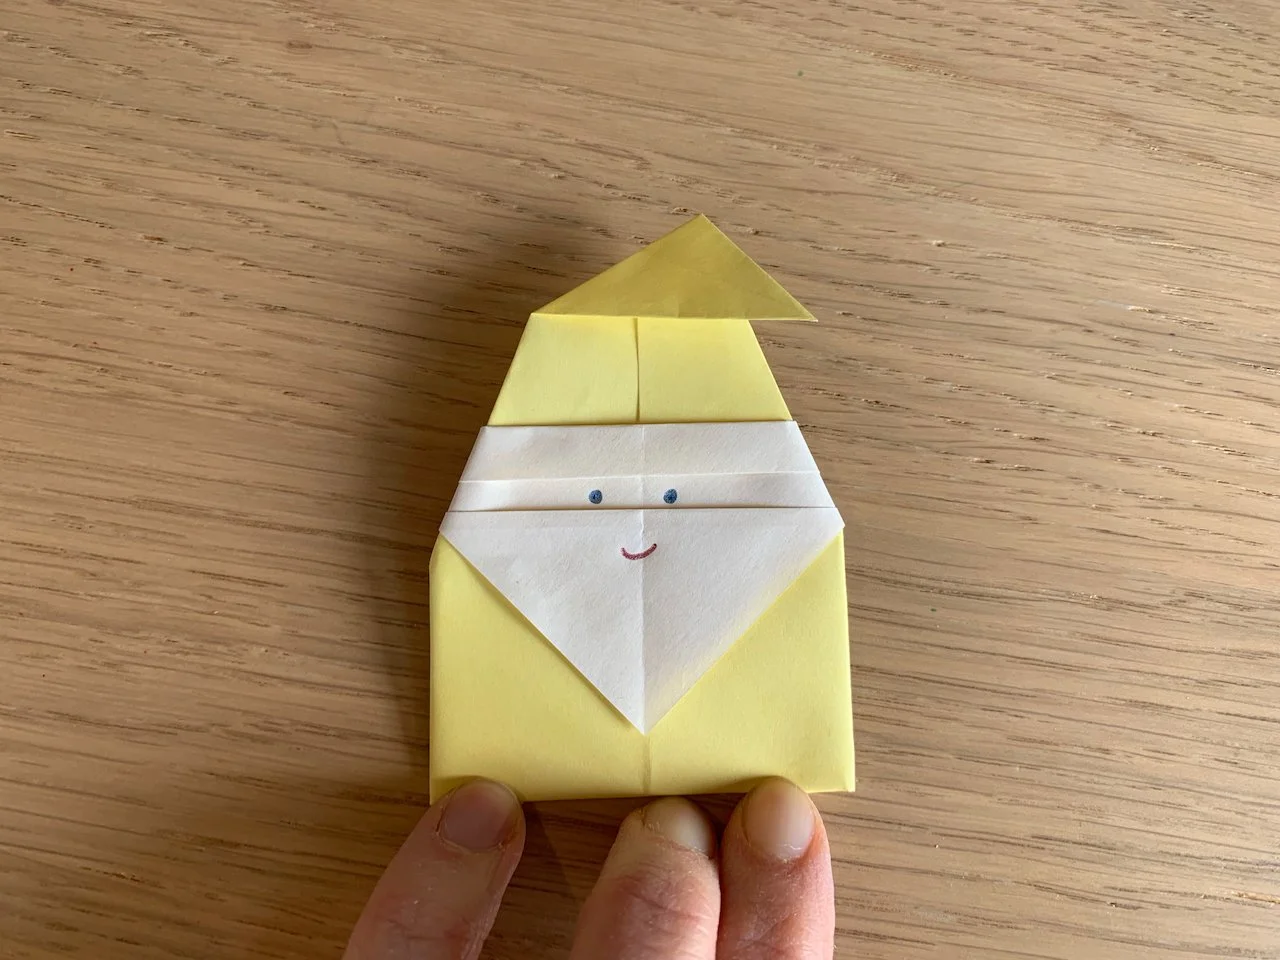
Then, turn your Santa around, he is basically ready.

If you like you can add a bend to his hat and a draw on a face.

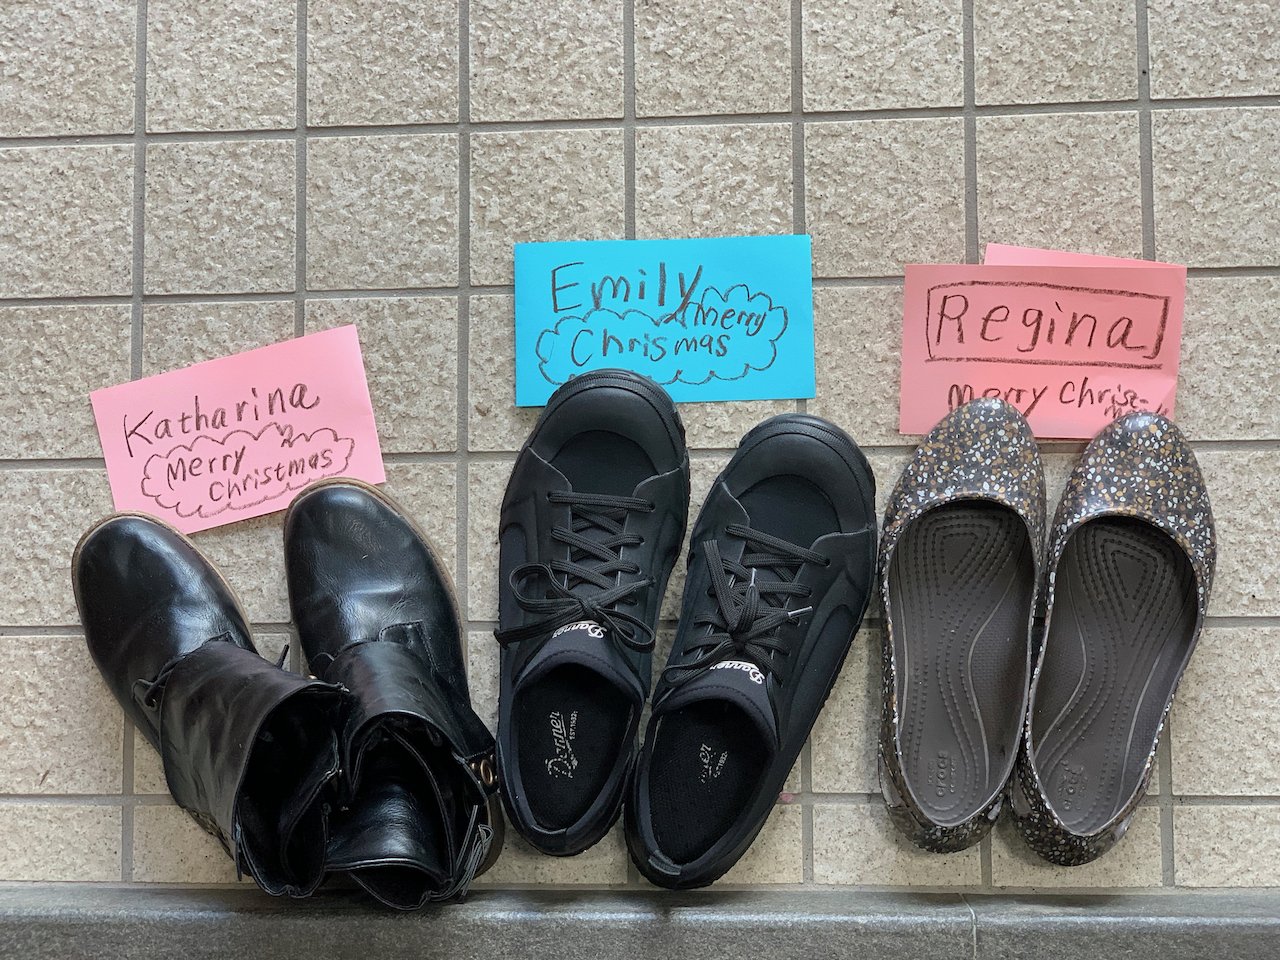
All my Santa-presents.
As expected, most of the presents did not survive to see the end of the class. Nonetheless, they made it fun and my fellow teachers and I enjoyed giving them to thew children.
After the class we too got a cute little surprise from the kids: