Crafting Paper Birds
We are staying on the topic of birds for now, but this time we’re not taking pictures of them, but make them ourselves.
Birds are my volunteer crafting project for this May. The craft I have chose is relatively easy to make, and I think they look really cute.
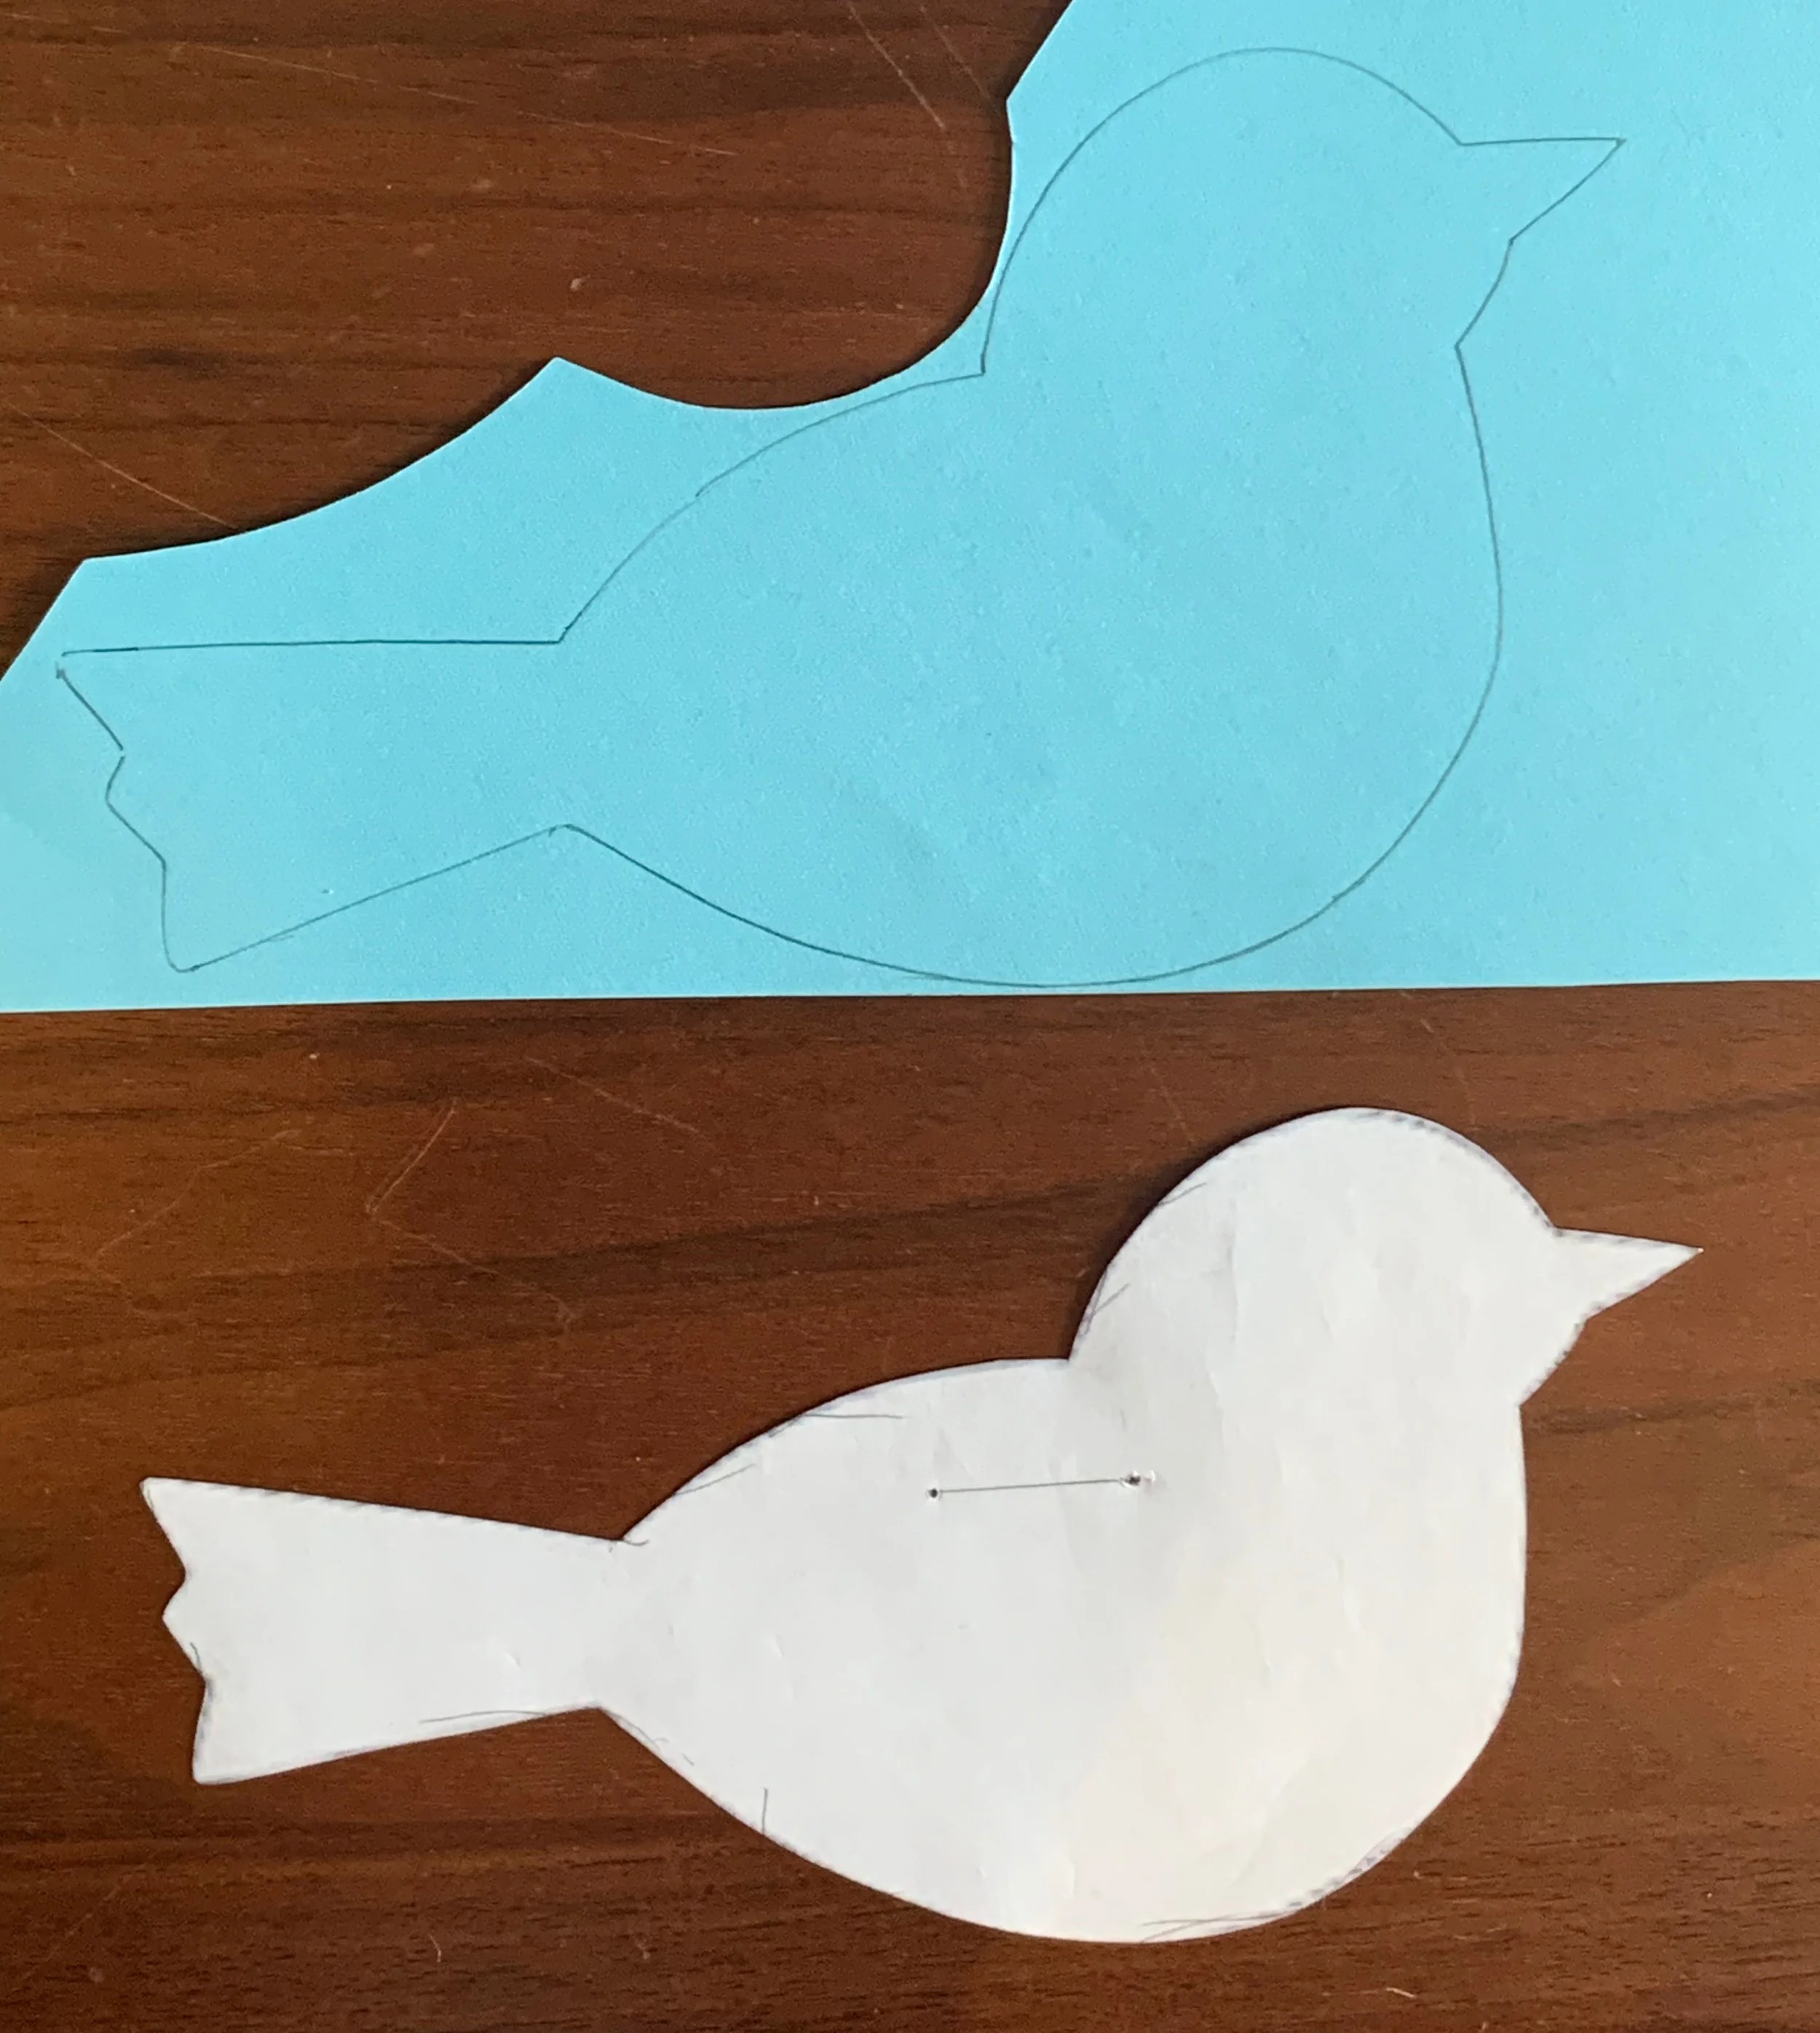
All you need is a template of a bird (feel free to use the one below), colourful paper (for the wings origami paper works best), a pencil, scissors, a crafting or kitchen knife, a thread and a needle.
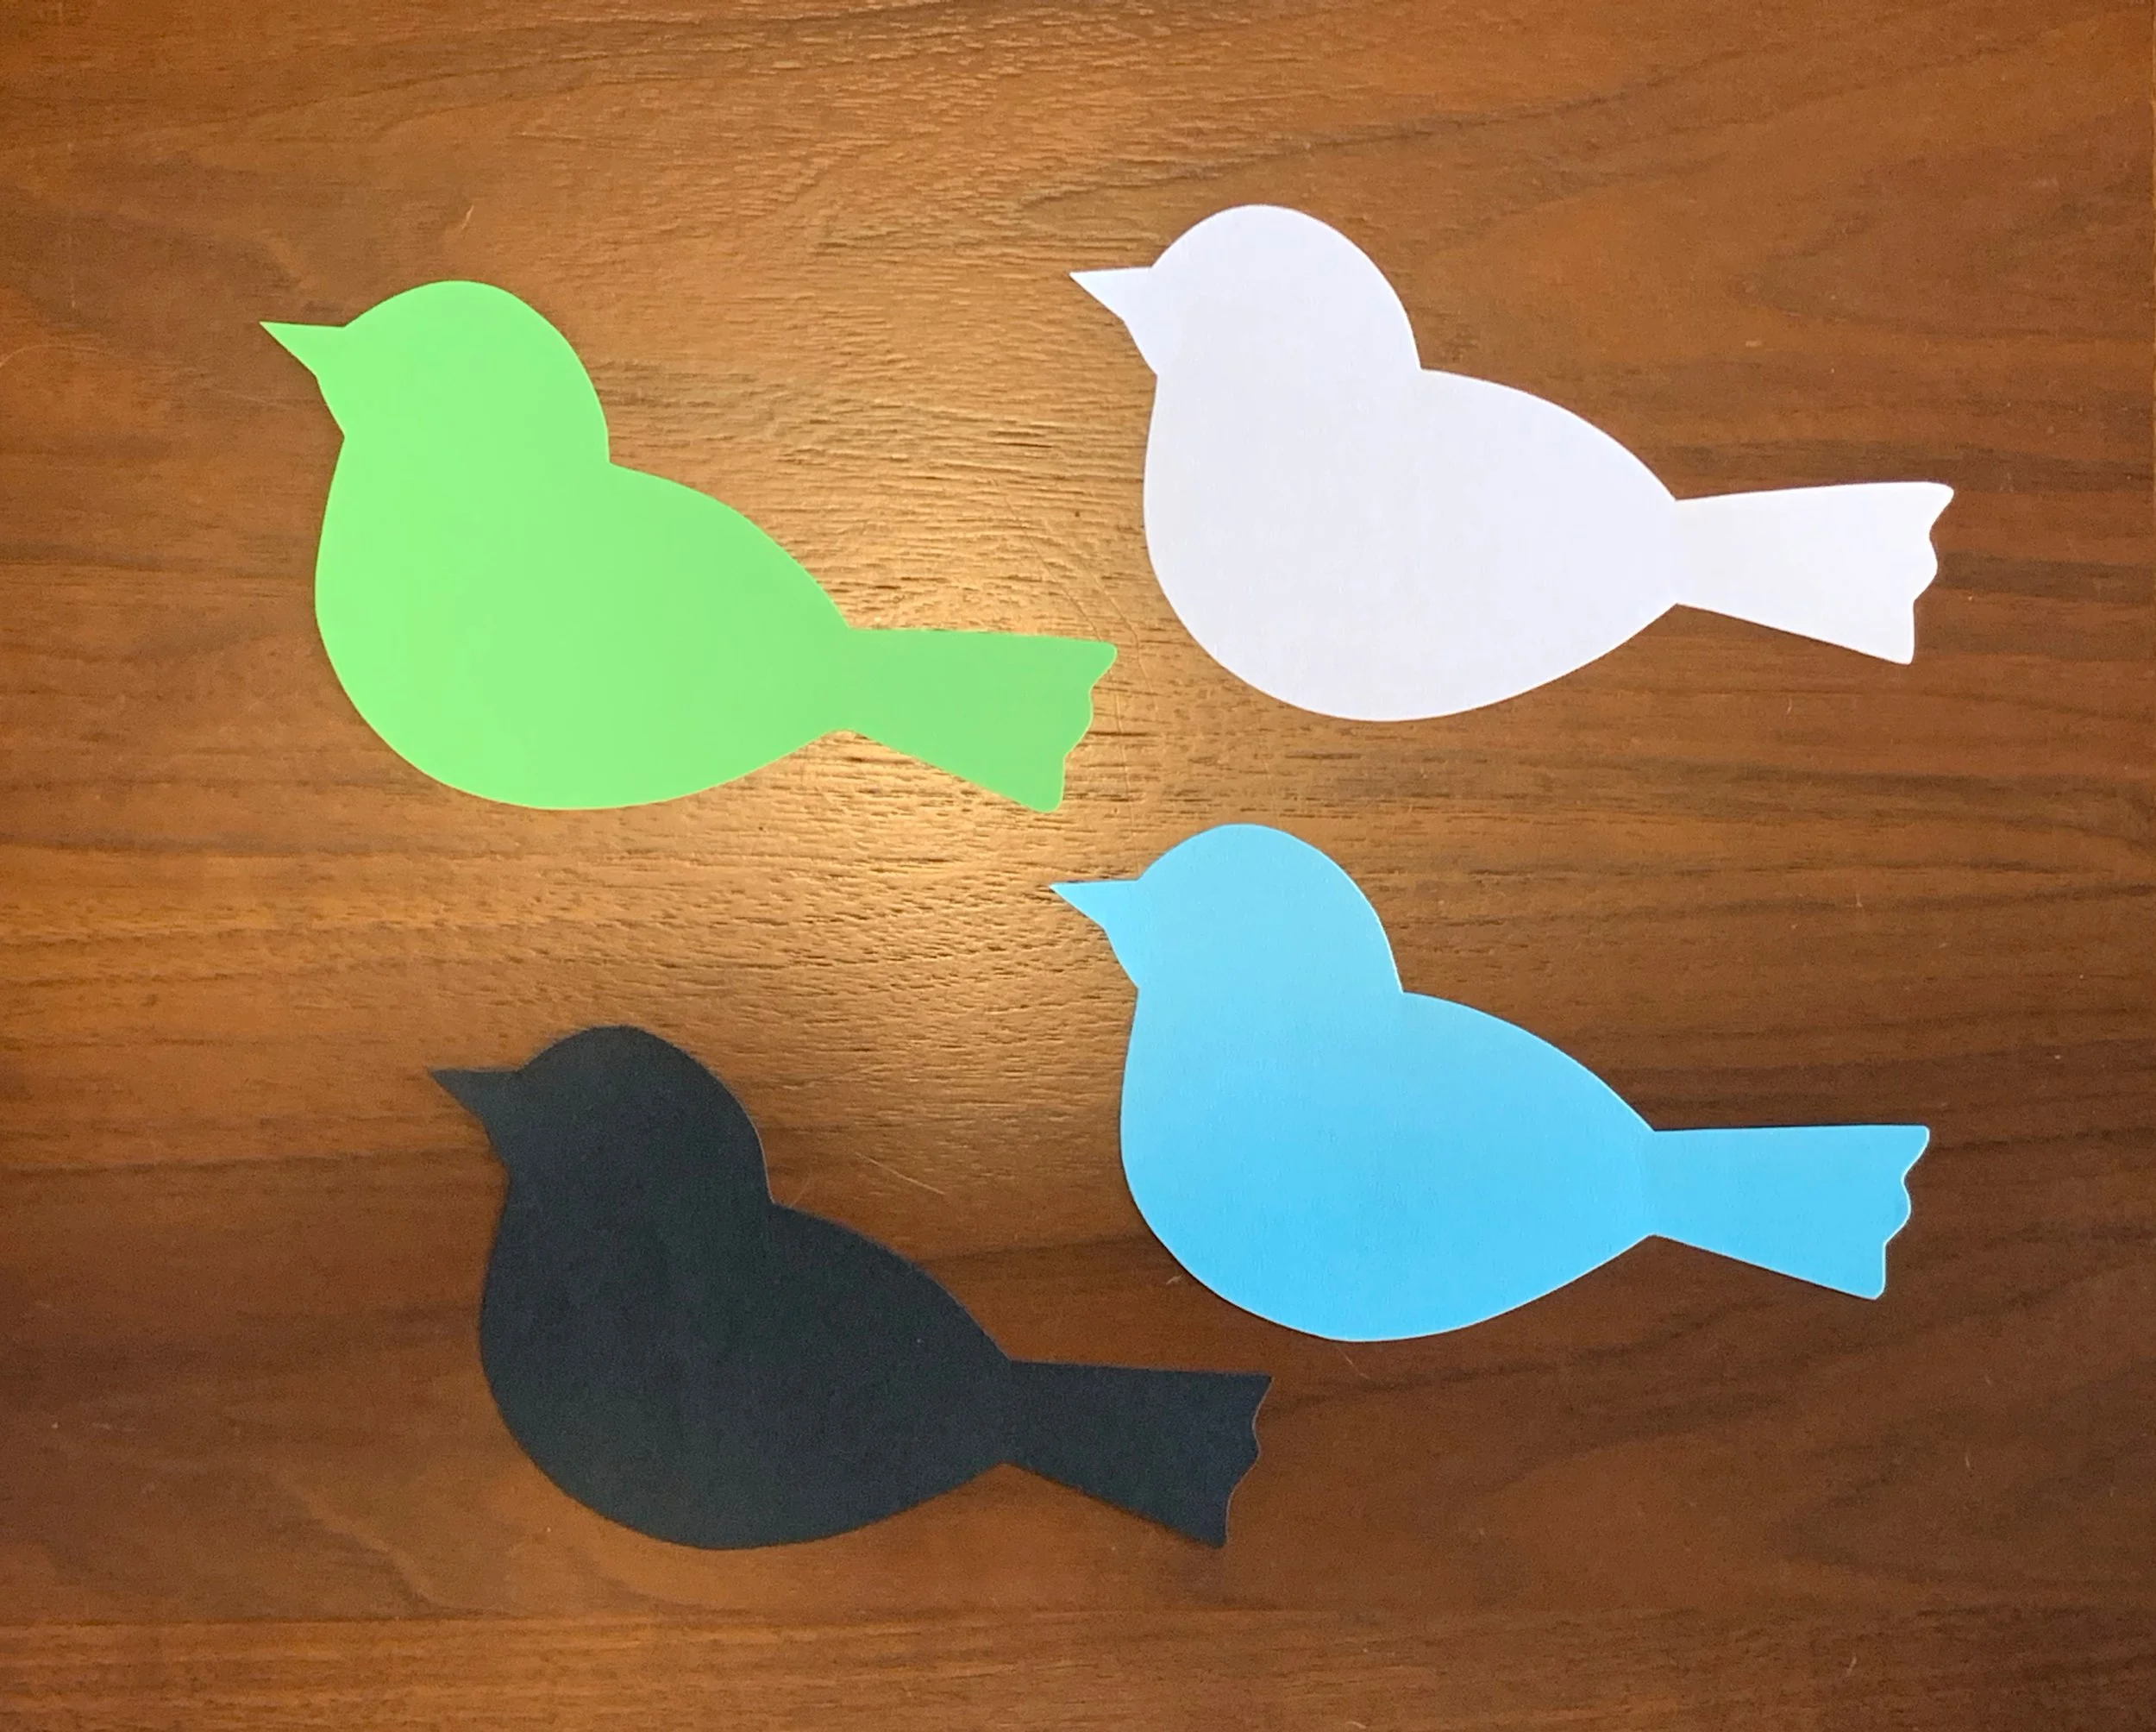
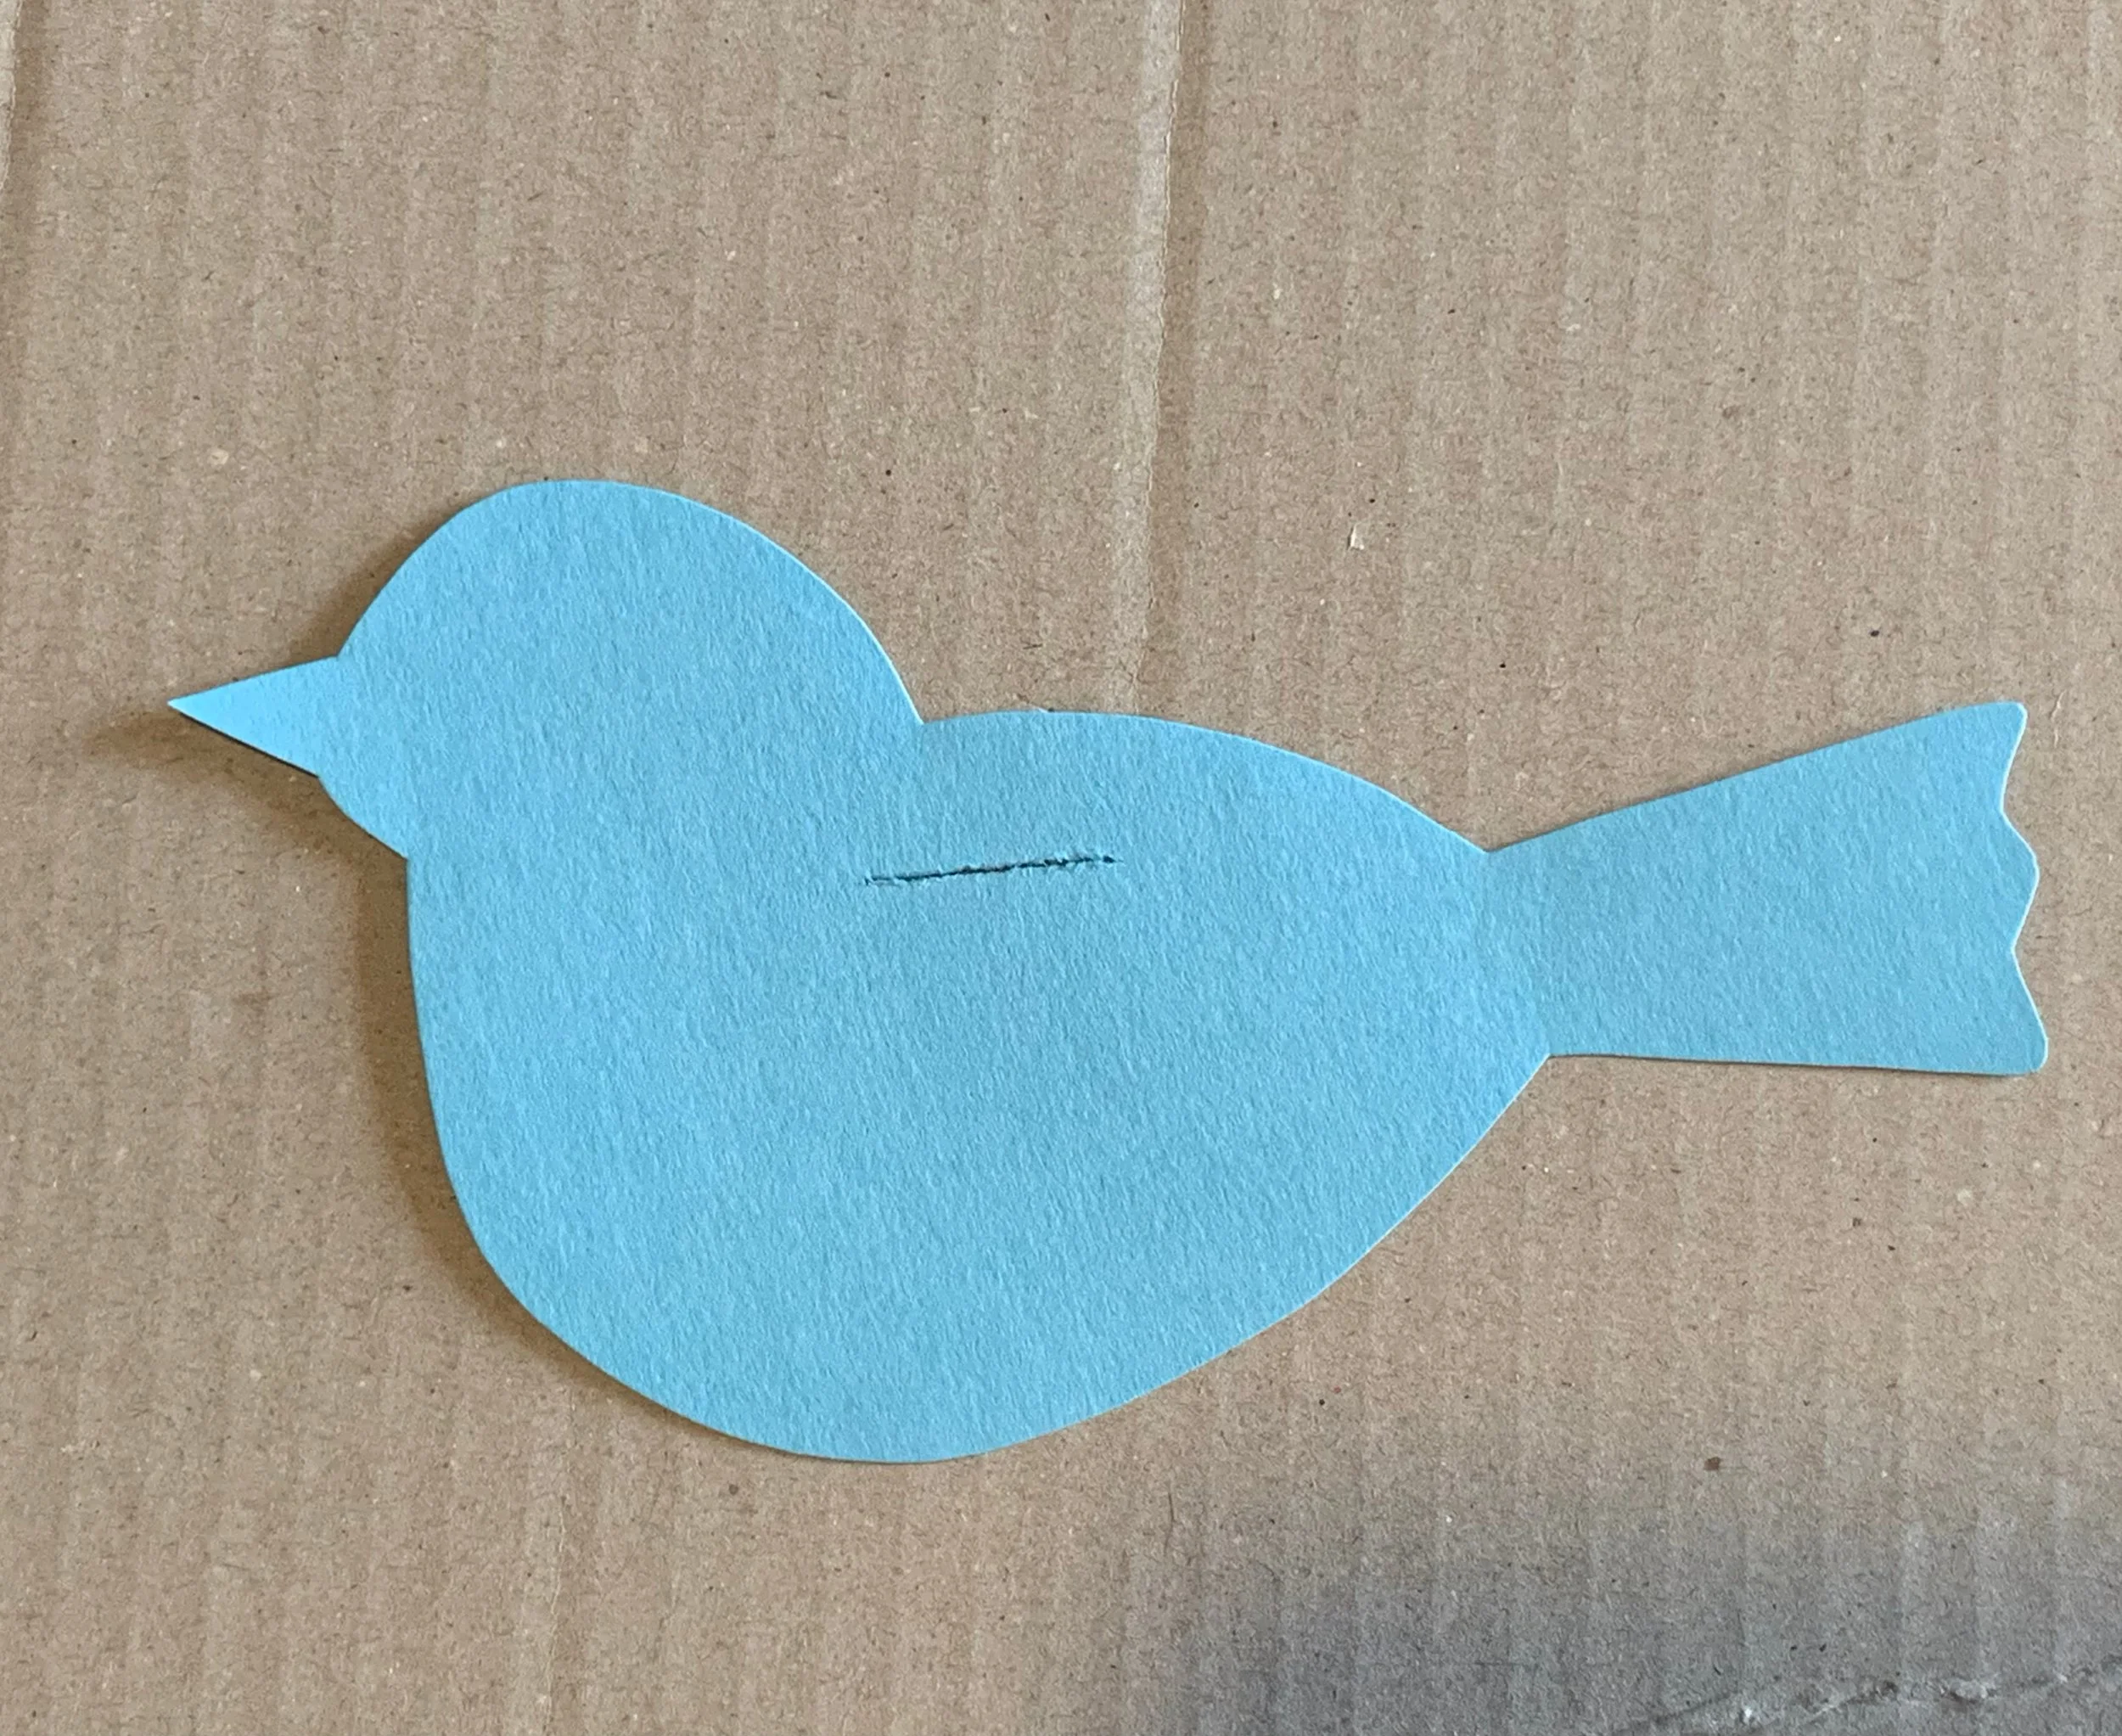
First, using the template, draw your bird on paper and cut it out. Use any colour you like.
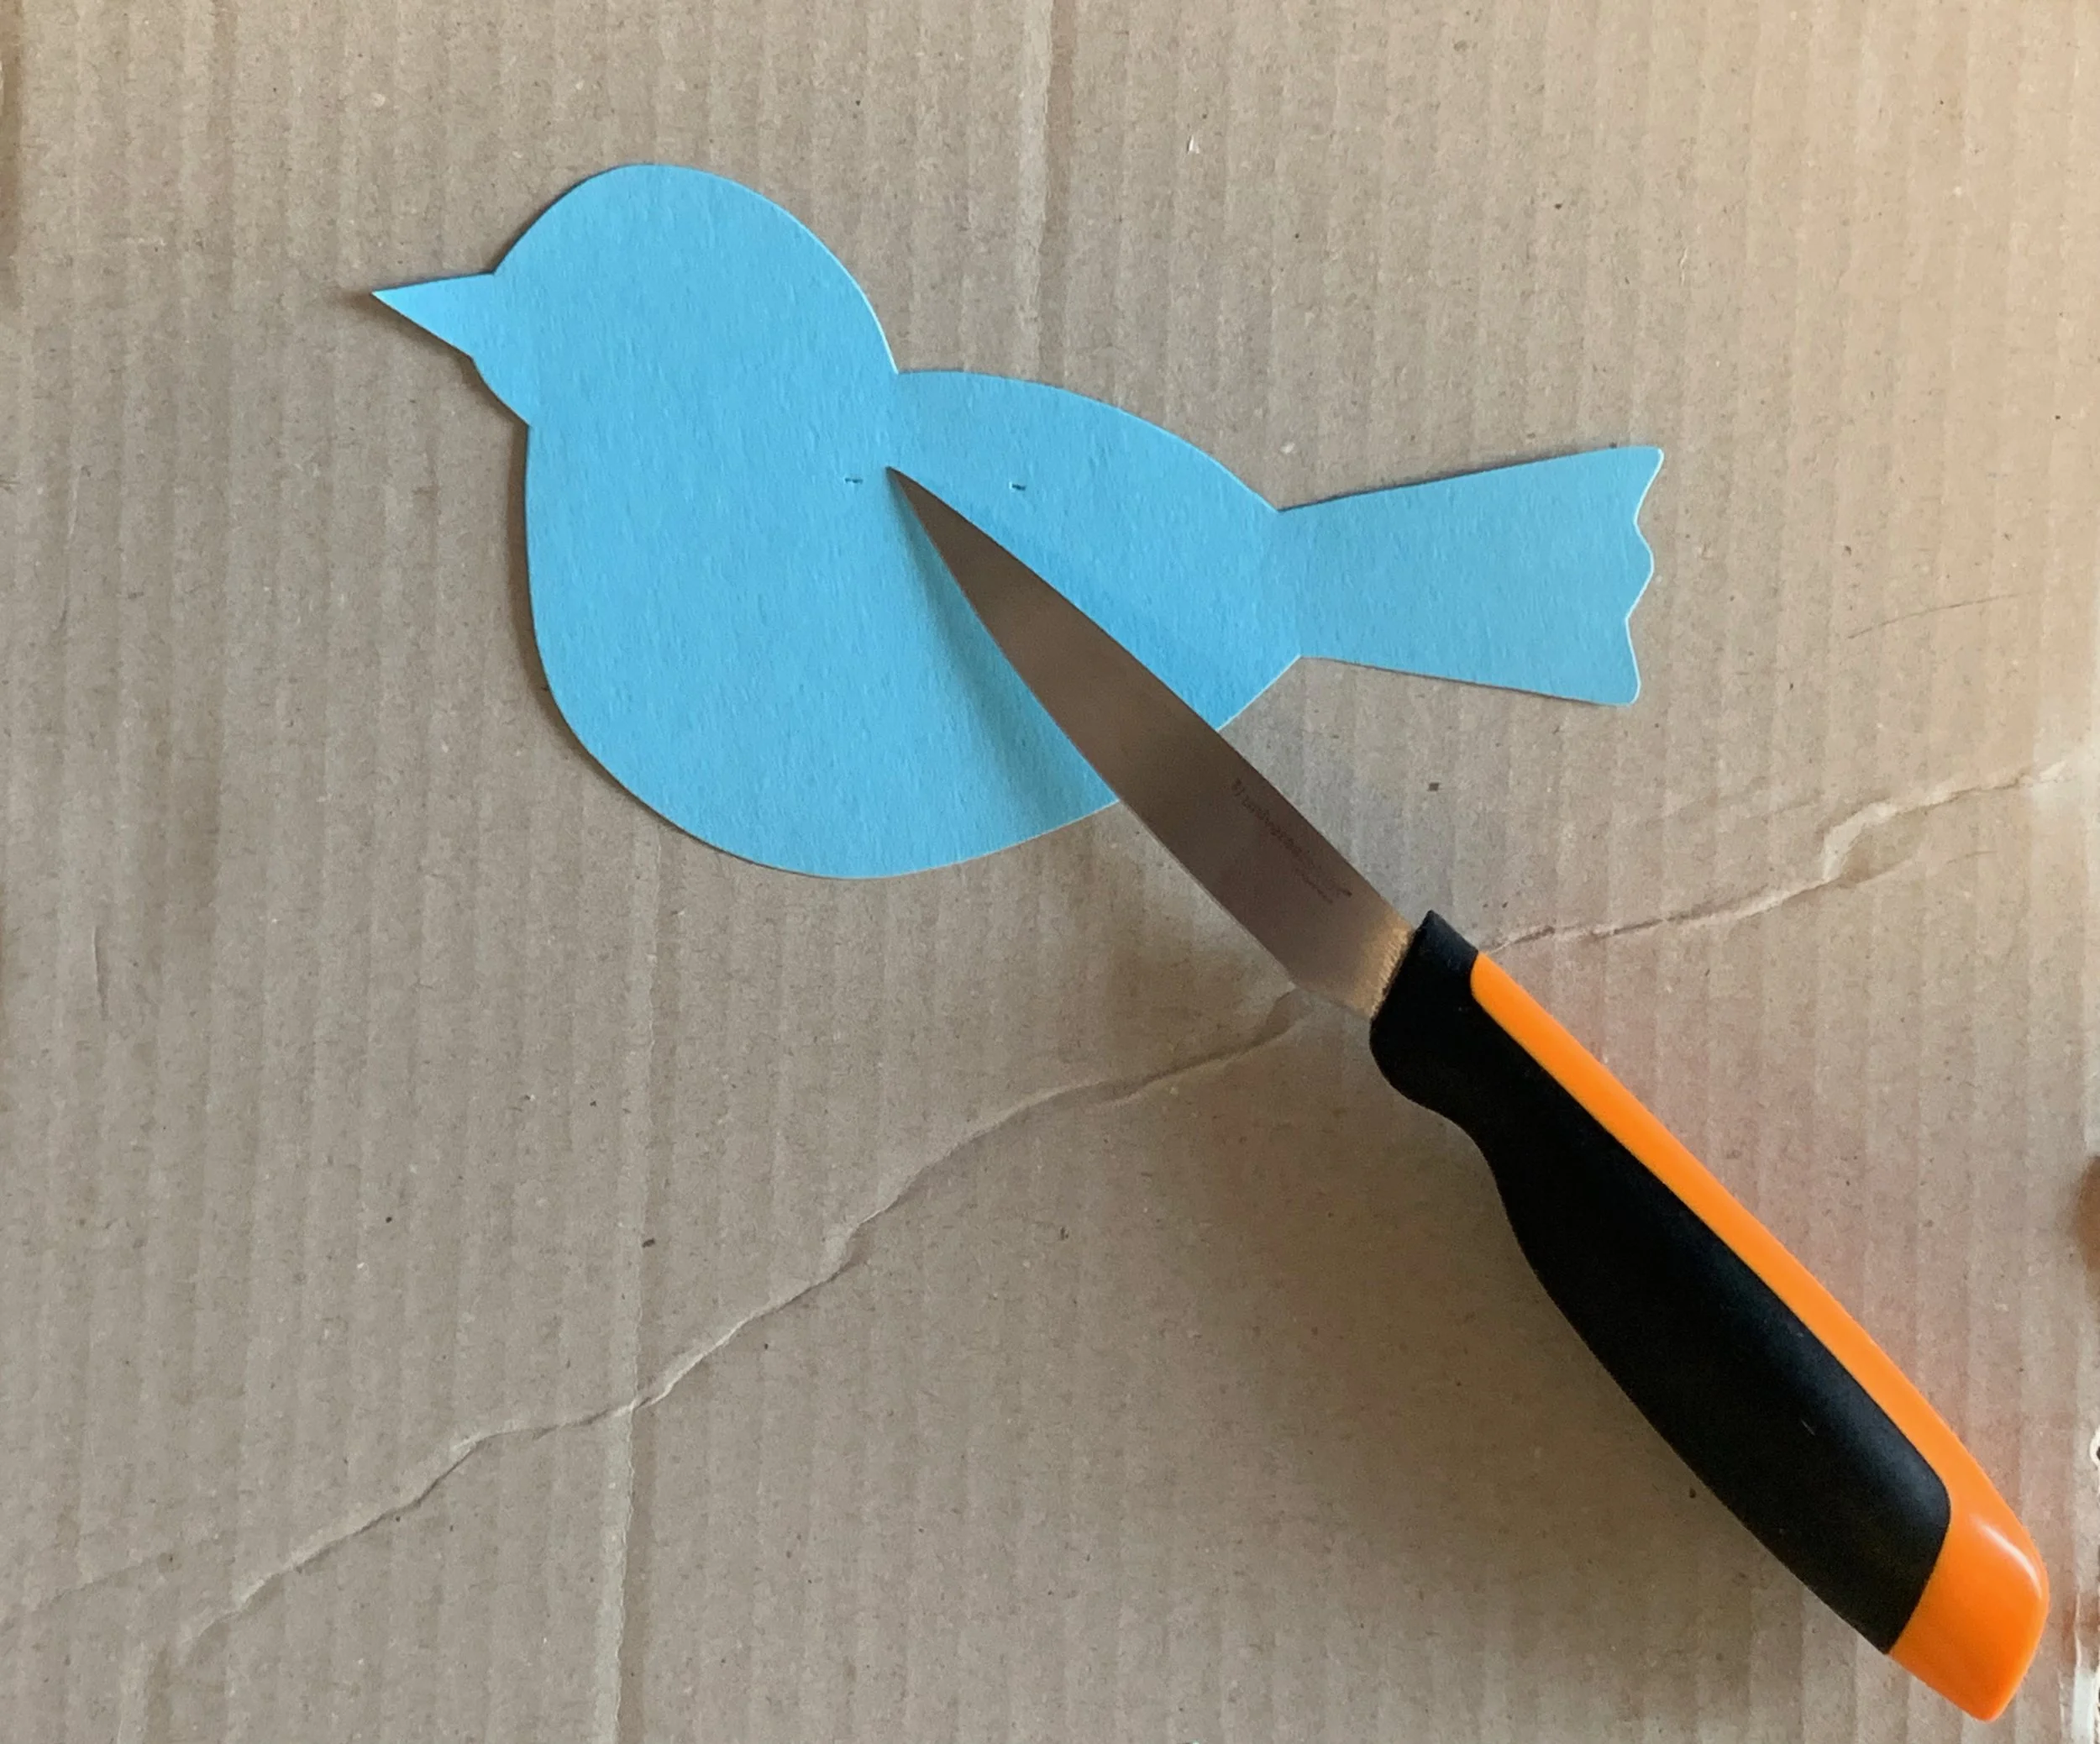
With the knife make a cut about 1.5-2cm long. For this, use a cardboard or other crafting surface that you don’t mind getting a cut or two.
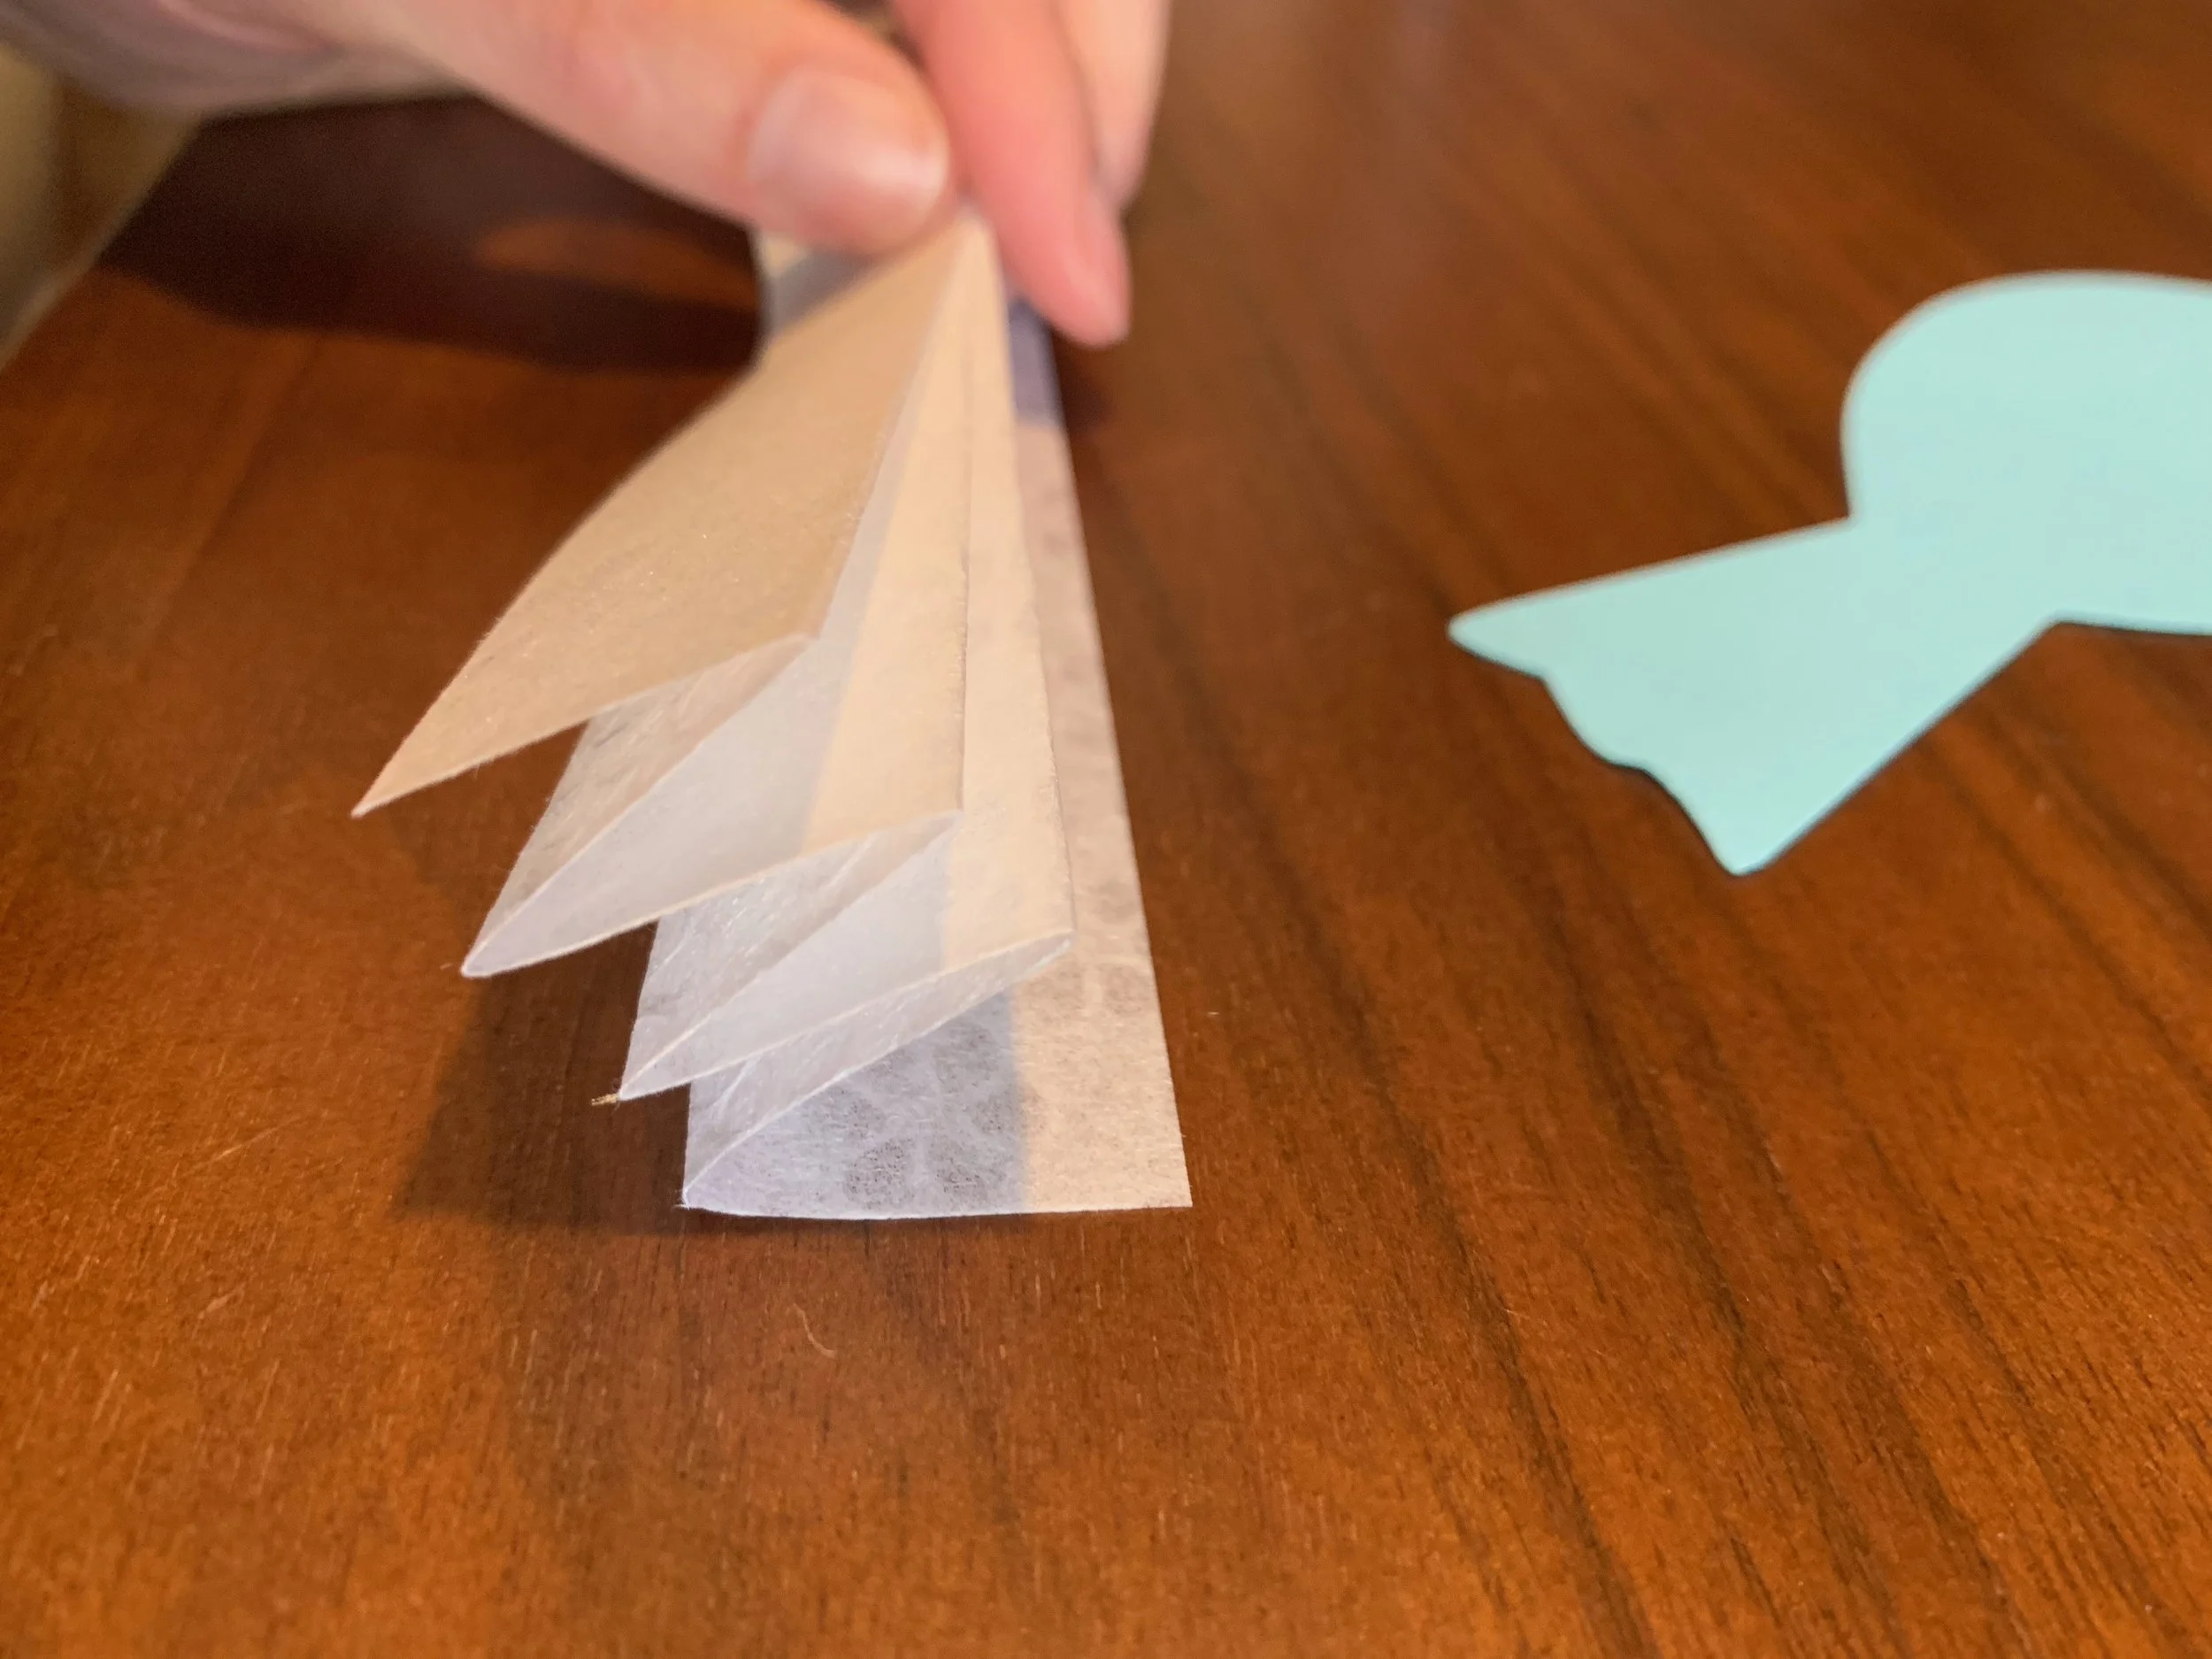
For the wings take a piece of origami paper, or any other light paper cut to a square.
Use your cut as a measurement for the first fold.

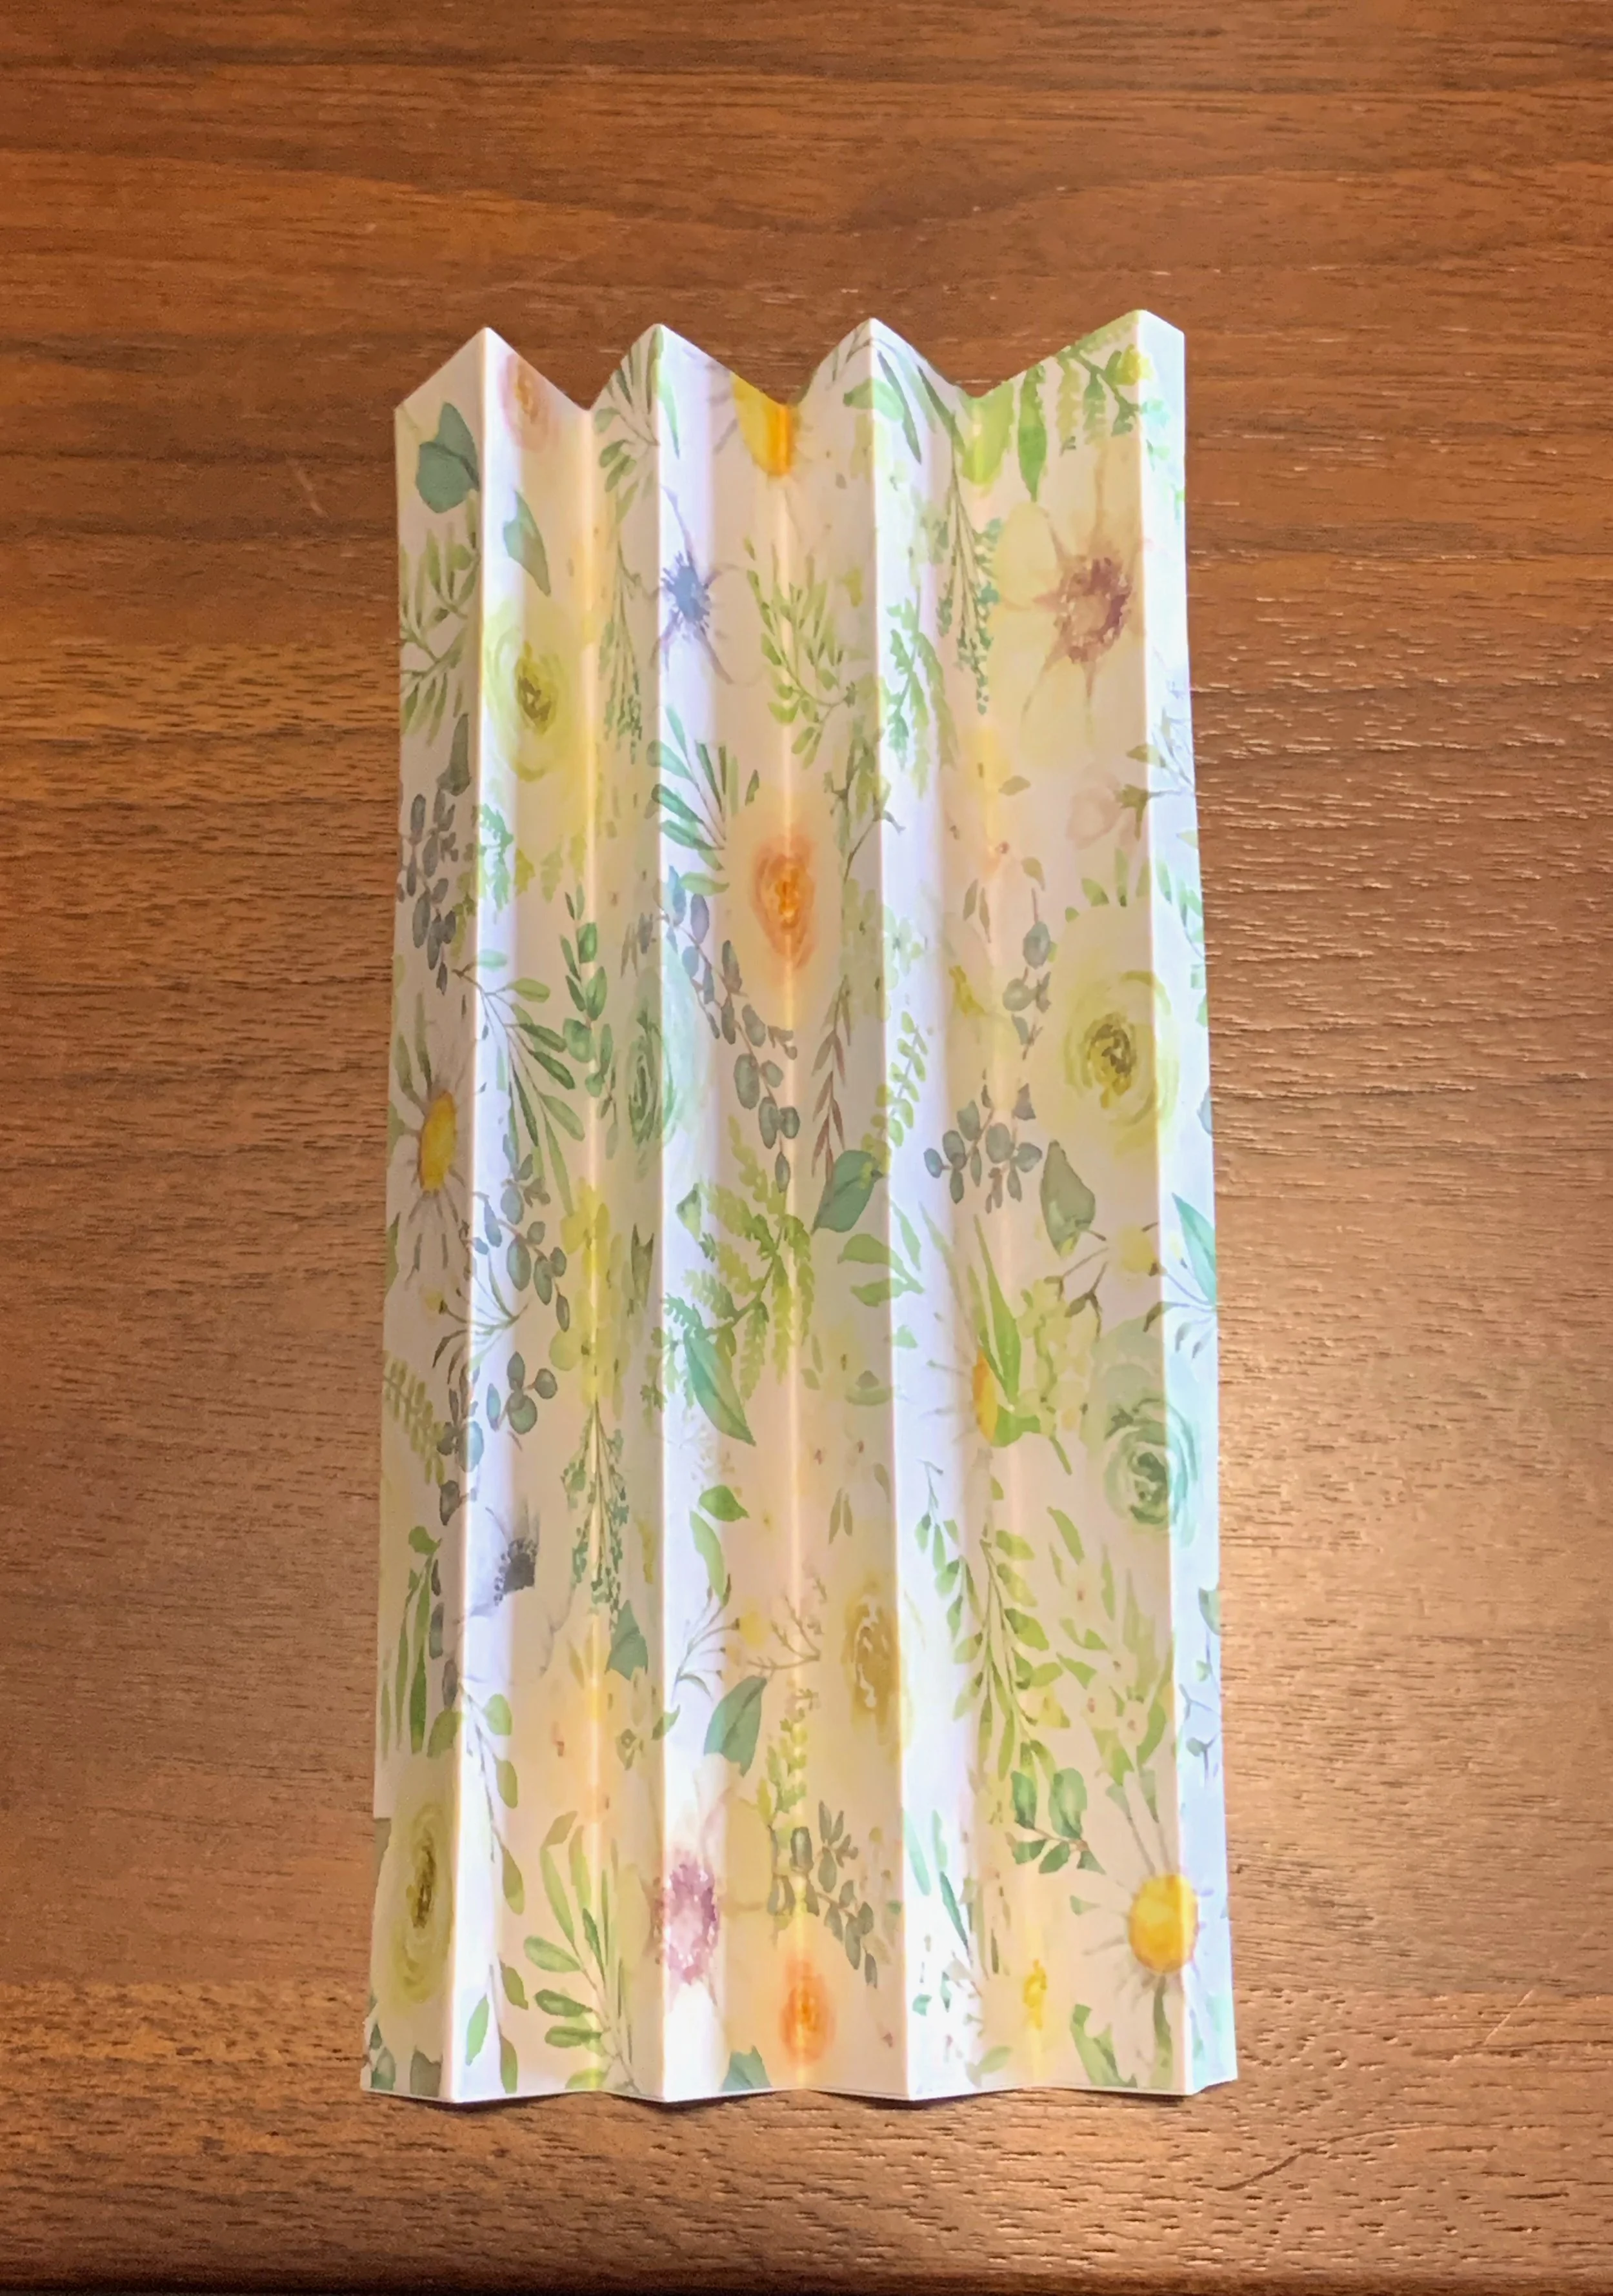
Then keep folding the paper back and forth until all the paper is folded into an accordion-like shape.
Thread the folded paper through the cut to give your bird wings.
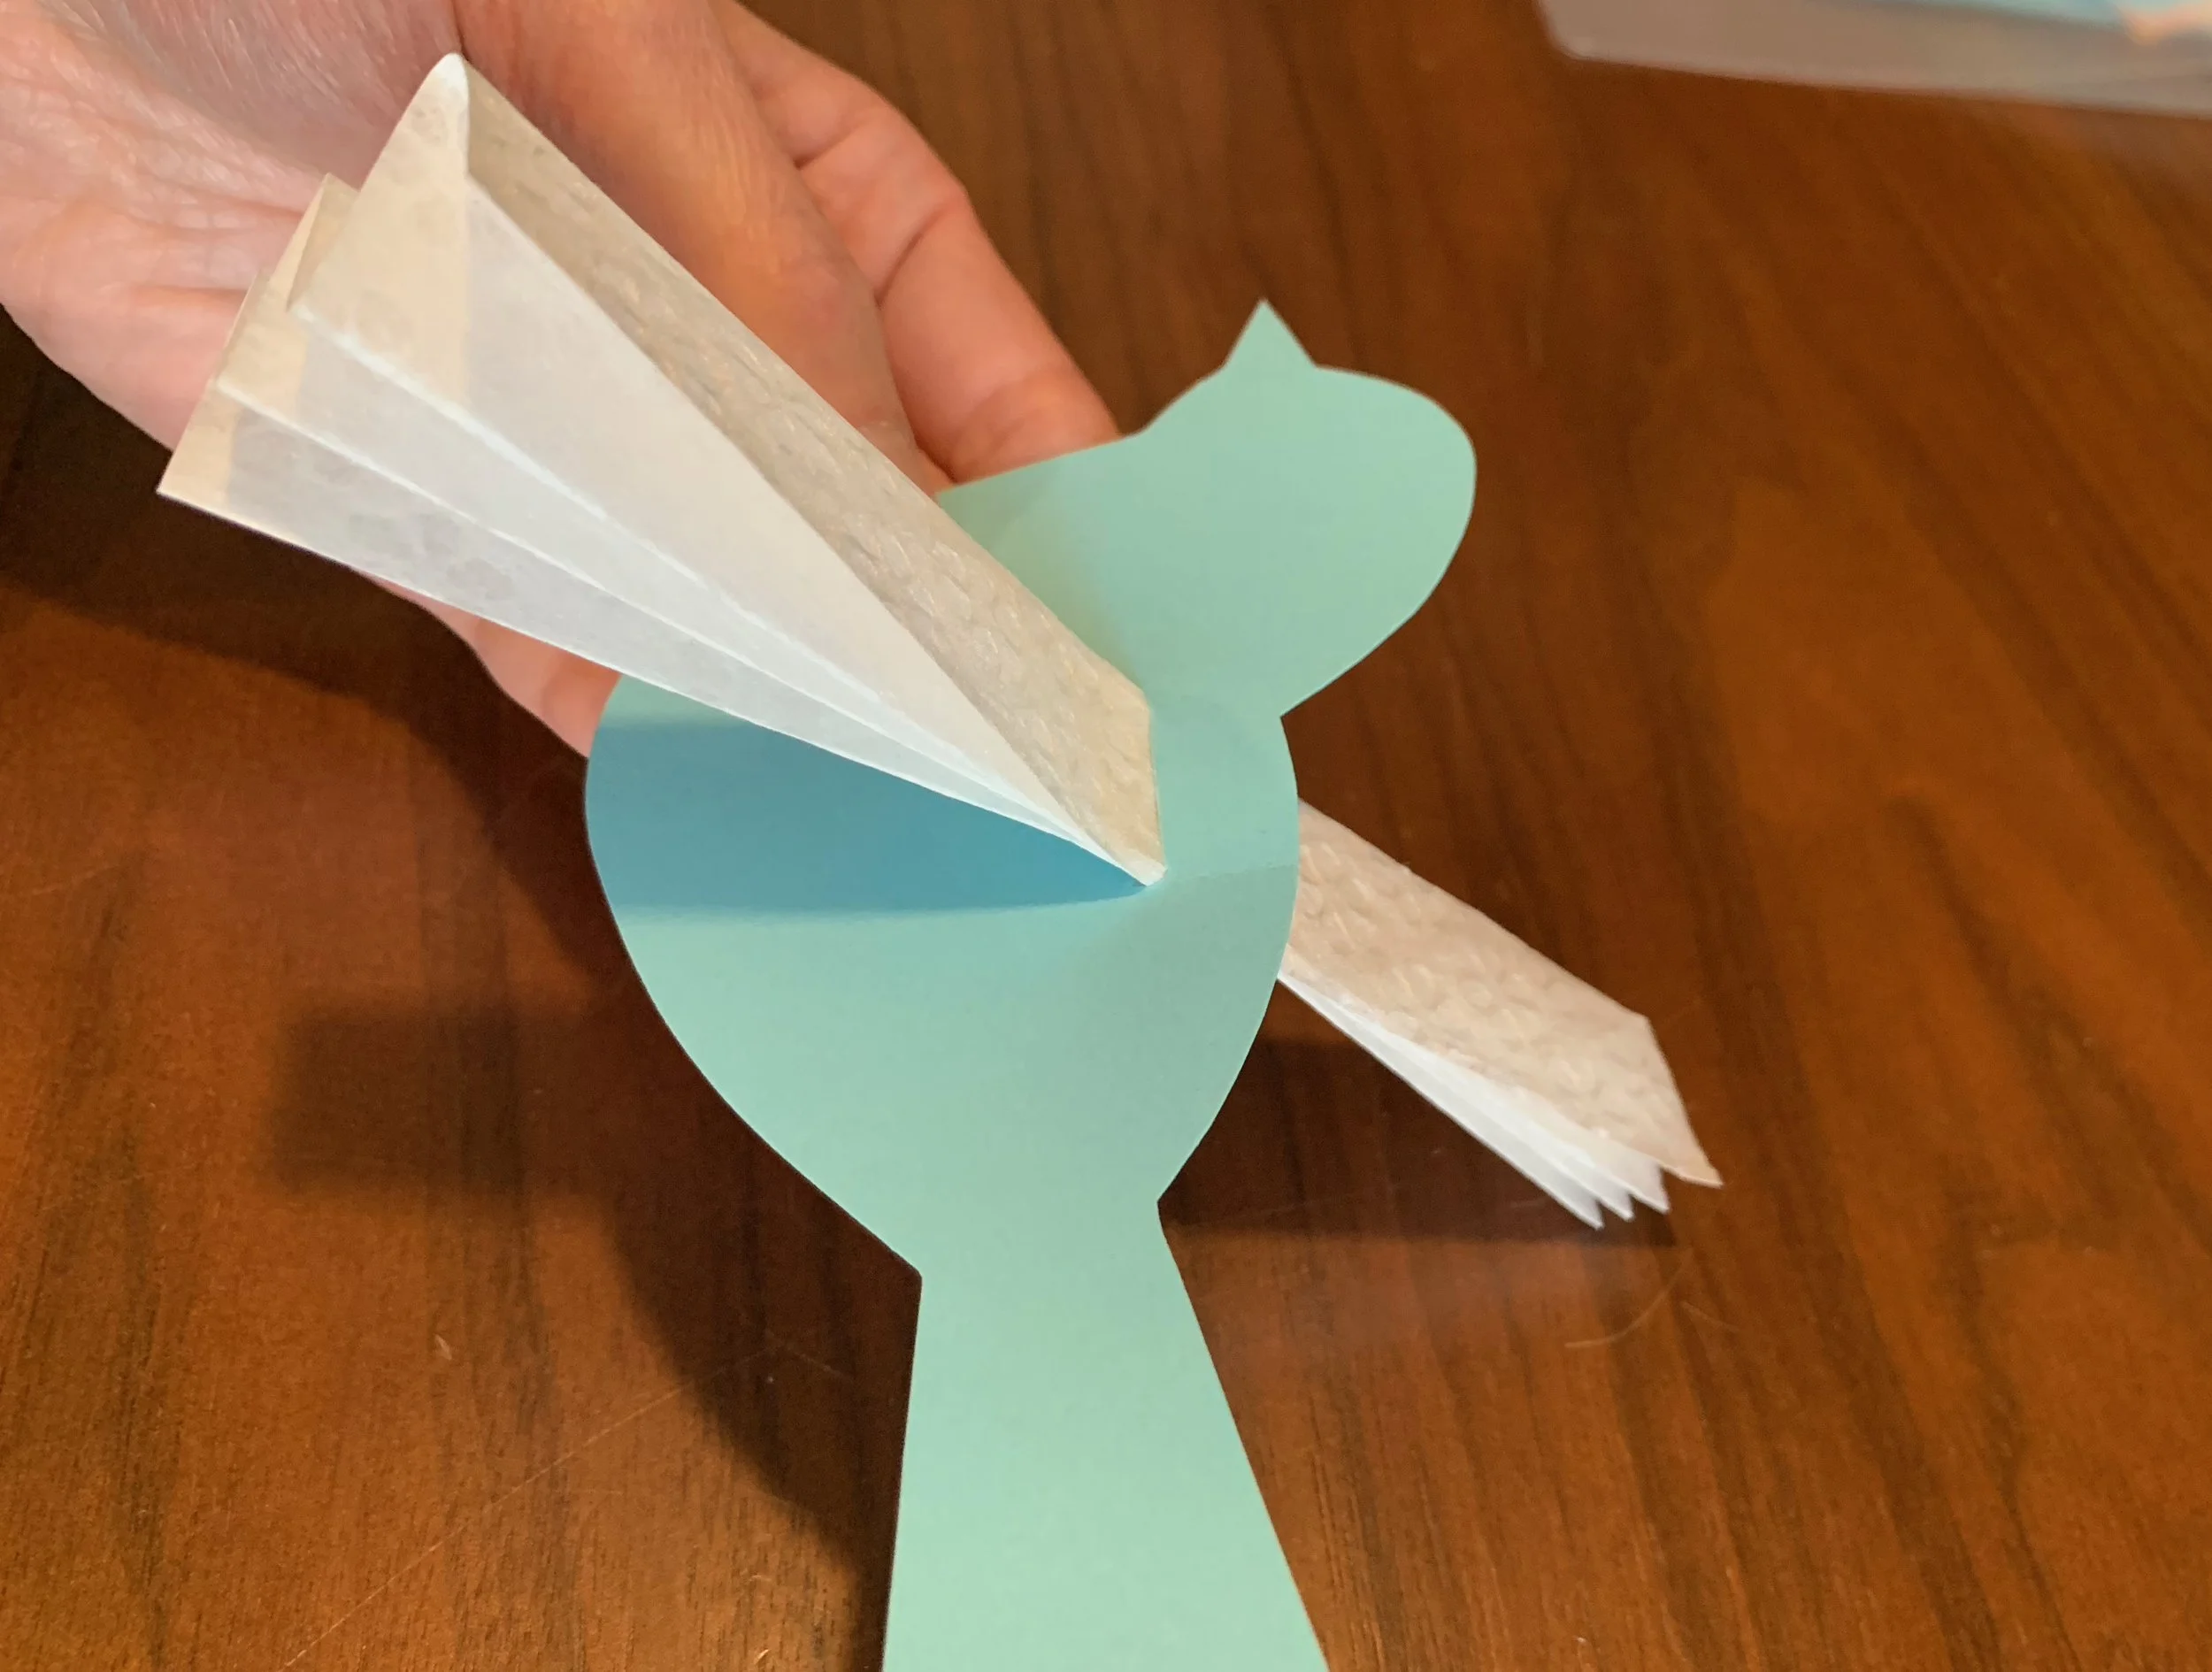
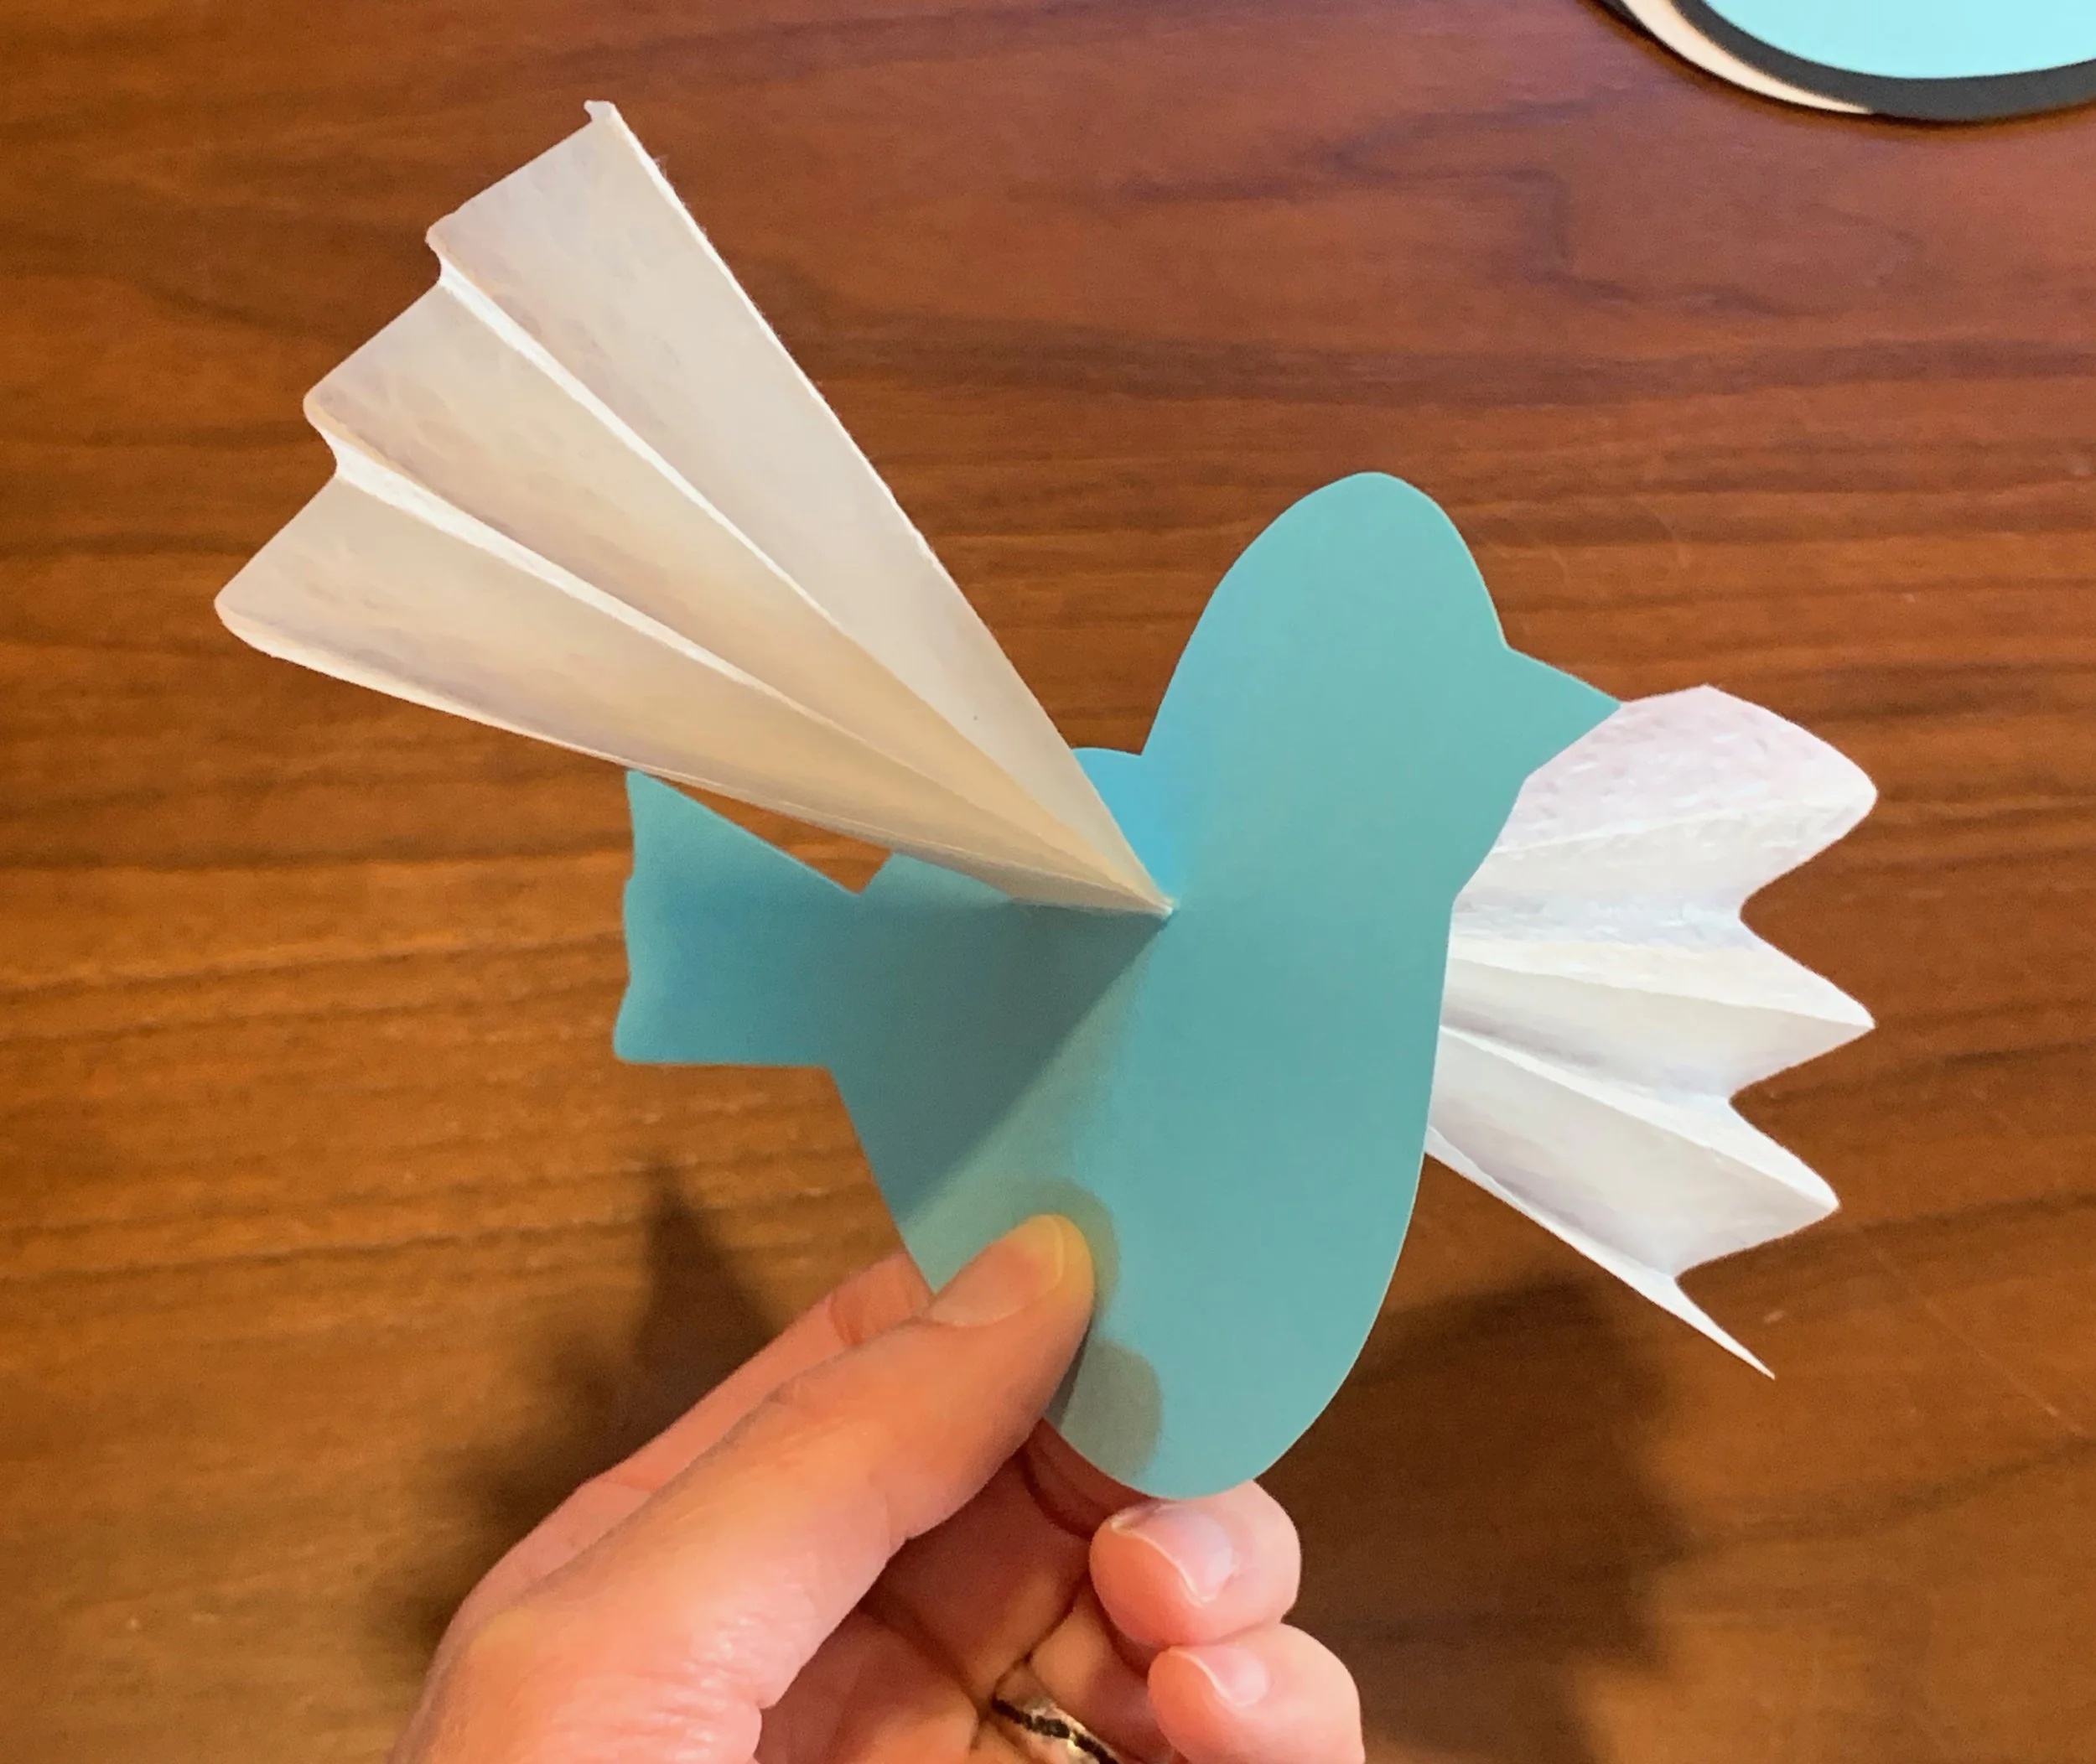
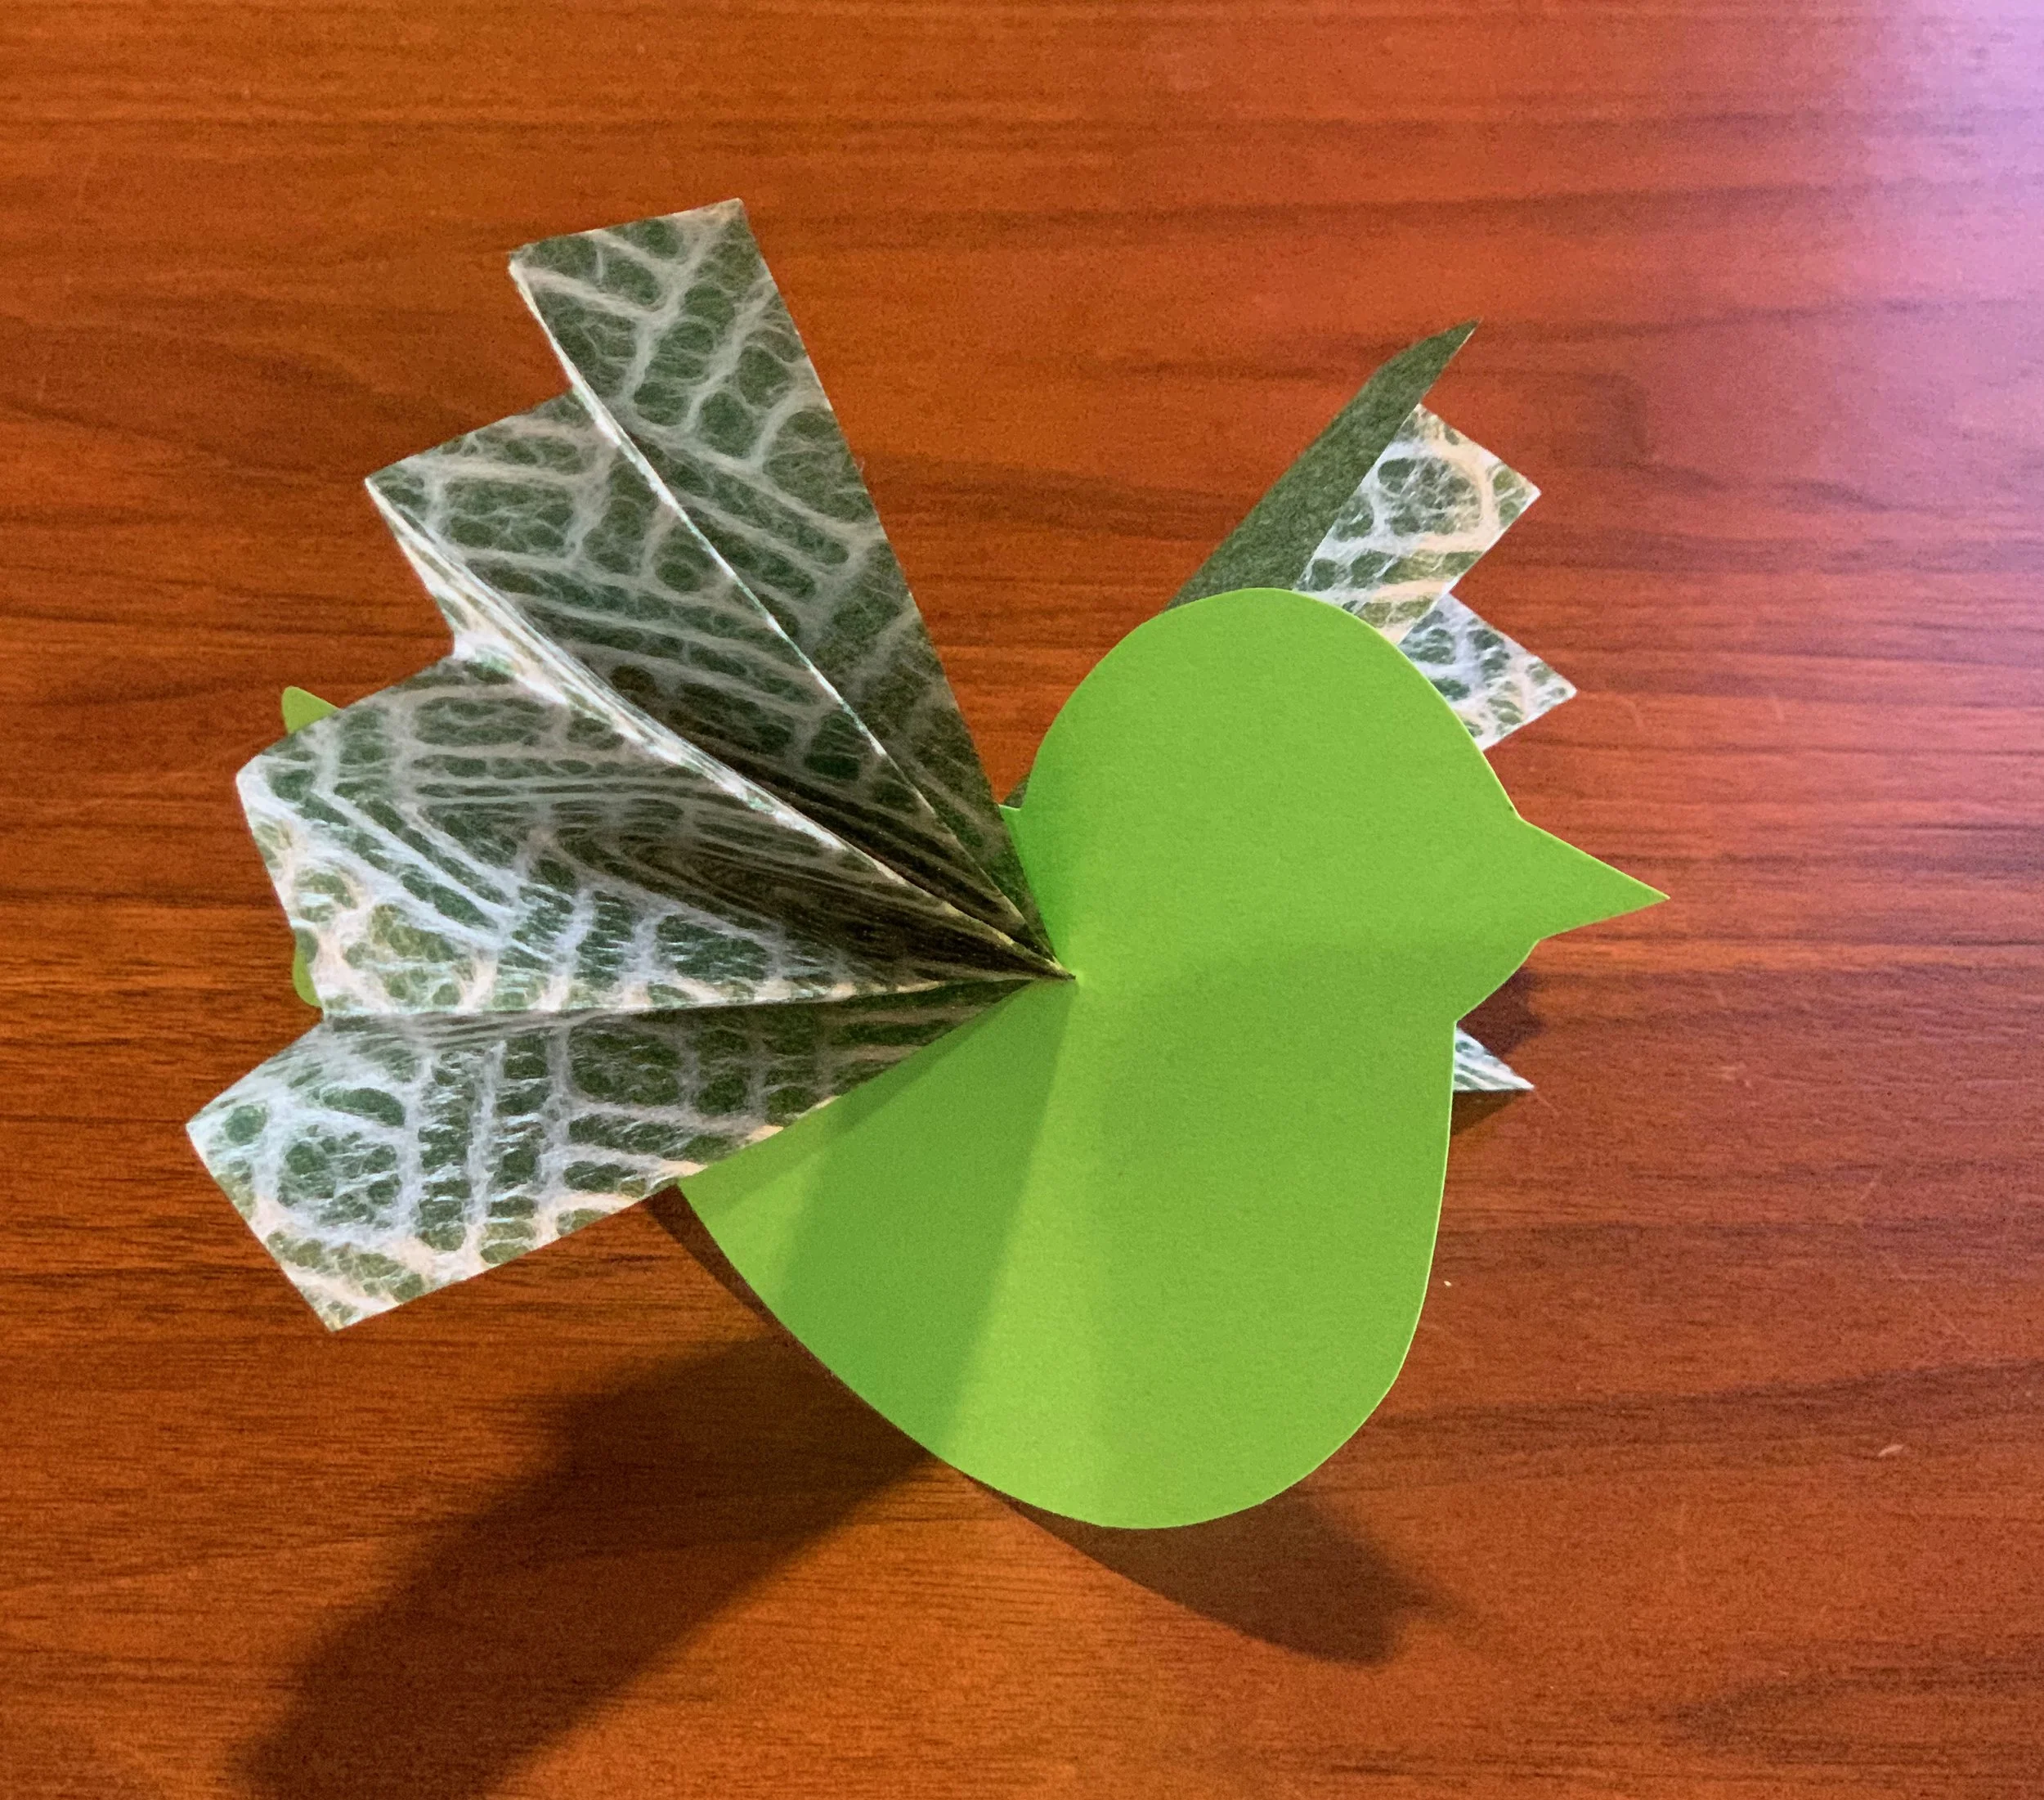
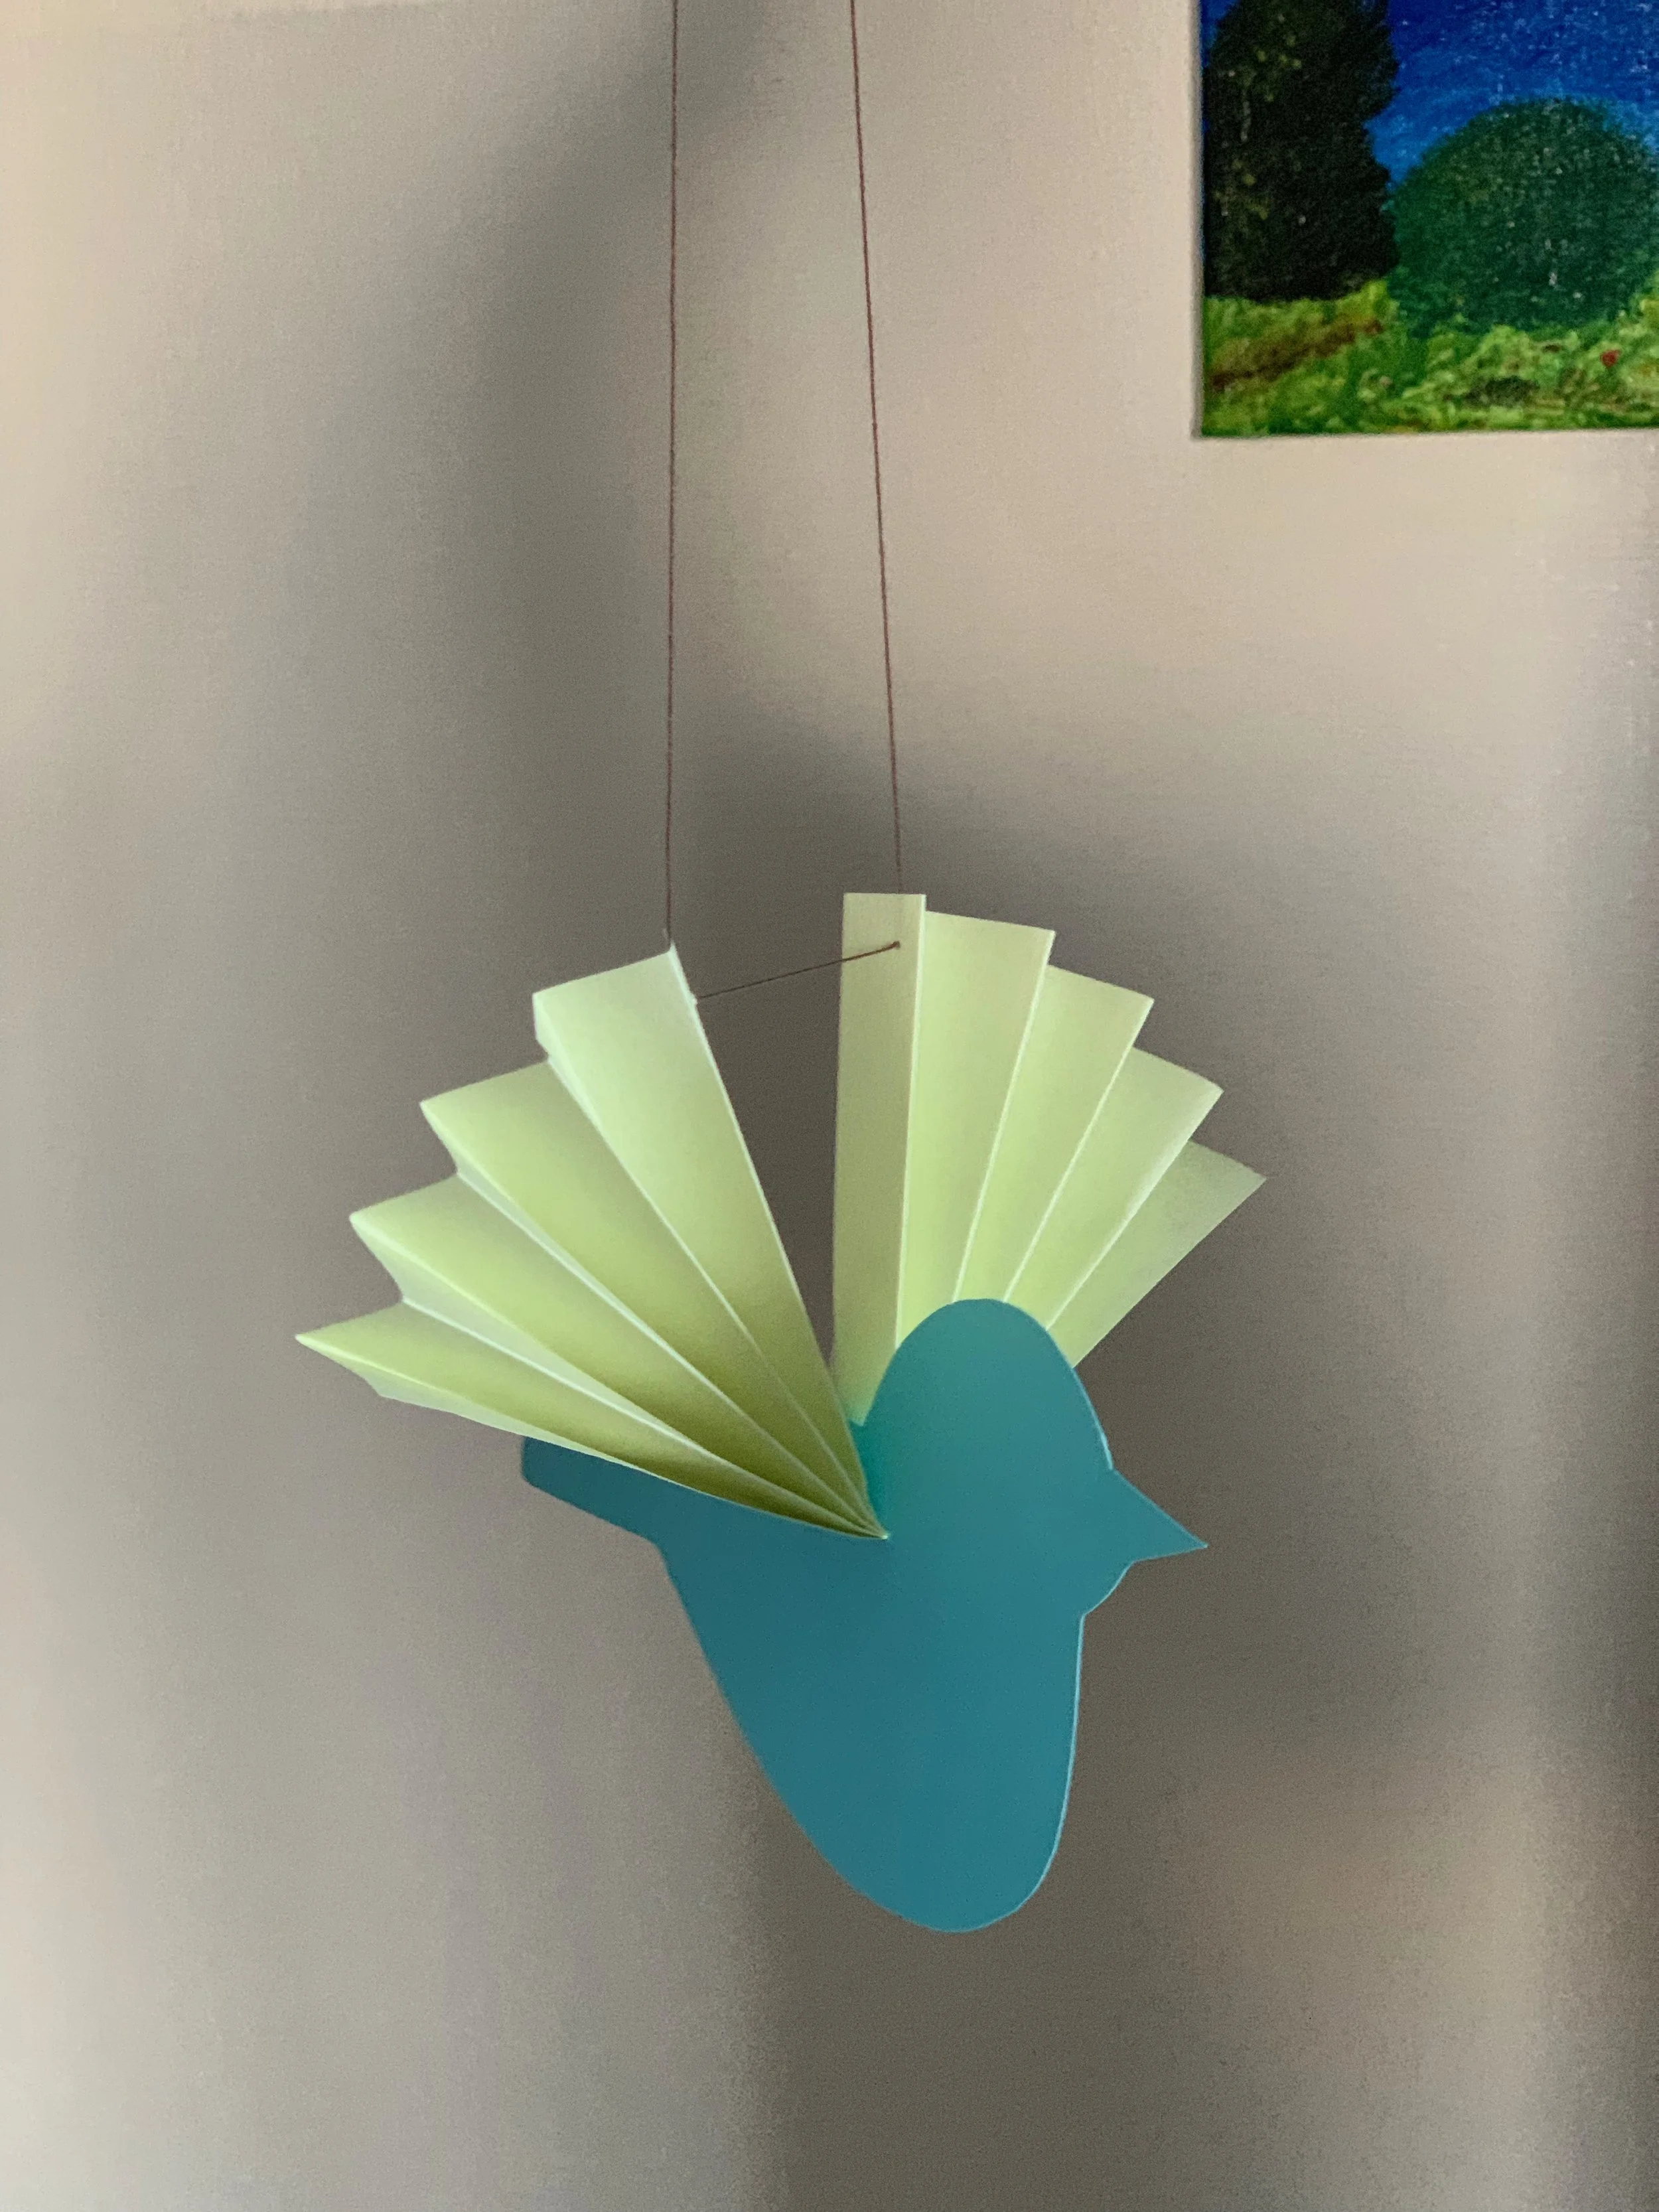
To secure the wings and have something to hang the bird up with, take a needle and thread and thread the string through the upper most part of both wings.
I found that this is the best way to make sure the bird is hanging upright and that the wings are spread out symmetrically.