Patching a bed sheet
Let’s start with the question: Why am I patching a bed sheet? Yes, I can afford a new one.
There are two answers to the question. One, I want to lear sewing. This also explains why my work is far from looking neat. I am an absolute beginner. Not that I never worked with a needle before, I have sewed on quite some buttons, made a few stitches here and there to close a tiny whole and so on, but I never actually learned how to do these things.
Very recently my husband stumbled over a YouTube channel, the one from Bernadette Banner. By now we must have watched all her videos. I may not ever be able to sew historical, or historically inspired garments myself, but at least I want to be able to mend and adjust my own clothing. For someone who has a rather unique style and has always appreciated a good thrift find, being able to do this is a powerful tool. I also want to deliberately be more sustainable with what I buy and wear. And this is the second answer to the above question. When I have everything at home to ‘quickly’ mend my bed sheet, why use up more resources and have a new item delivered from somewhere.
To be honest, it was a two afternoon project for me to patch the sheet, but I assume with more skill and experience it could be done in almost no time.

The patching instructions I have used come from Bernadette Banner’s book Make, Sew and Mend. So, I won’t go into too much details. If you want to learn more about sewing, are maybe even interested in historical techniques, I highly recommend the book!
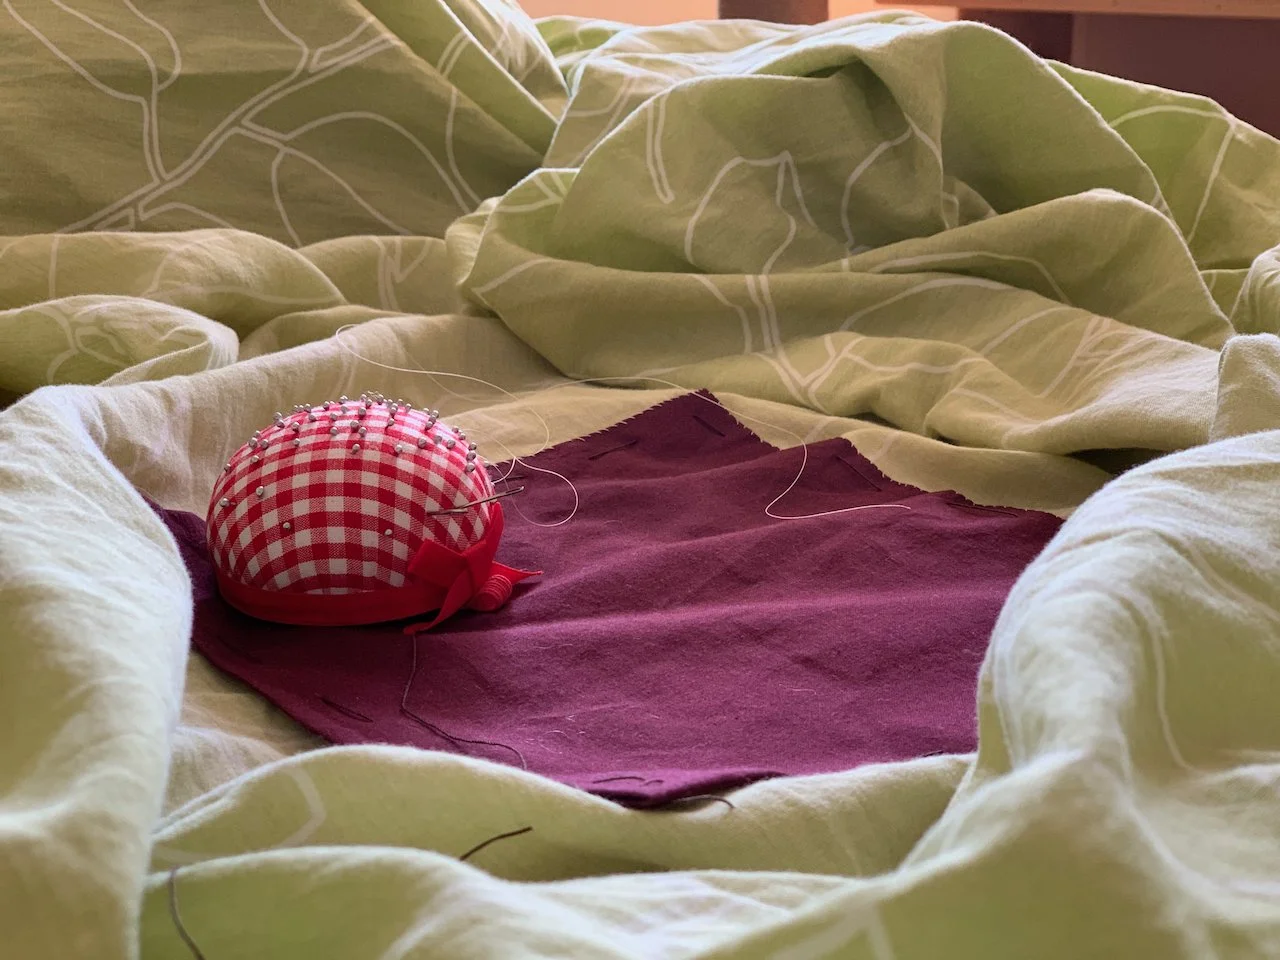
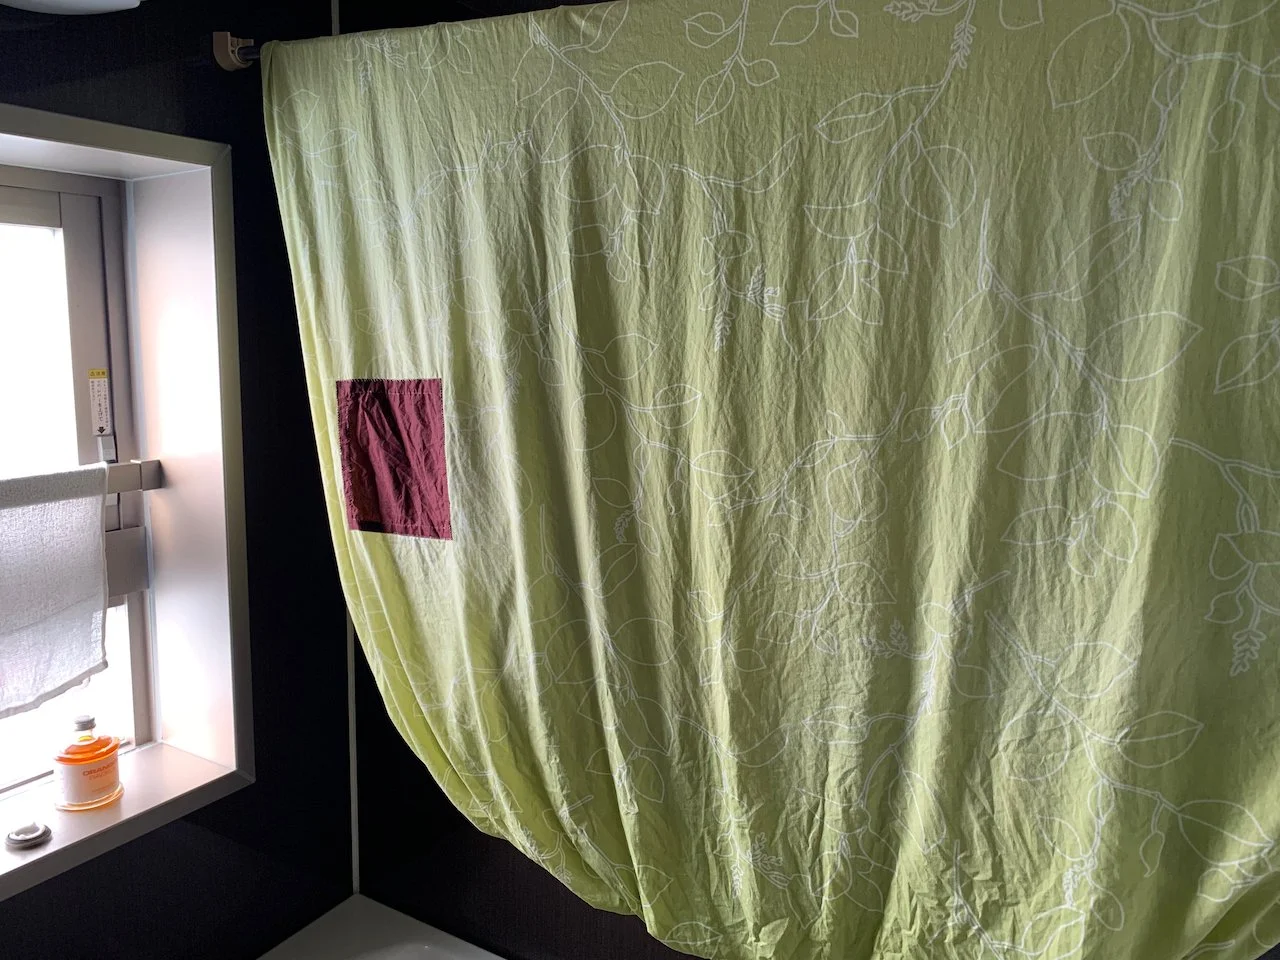
All I want to give here is brief description of how I got from here:

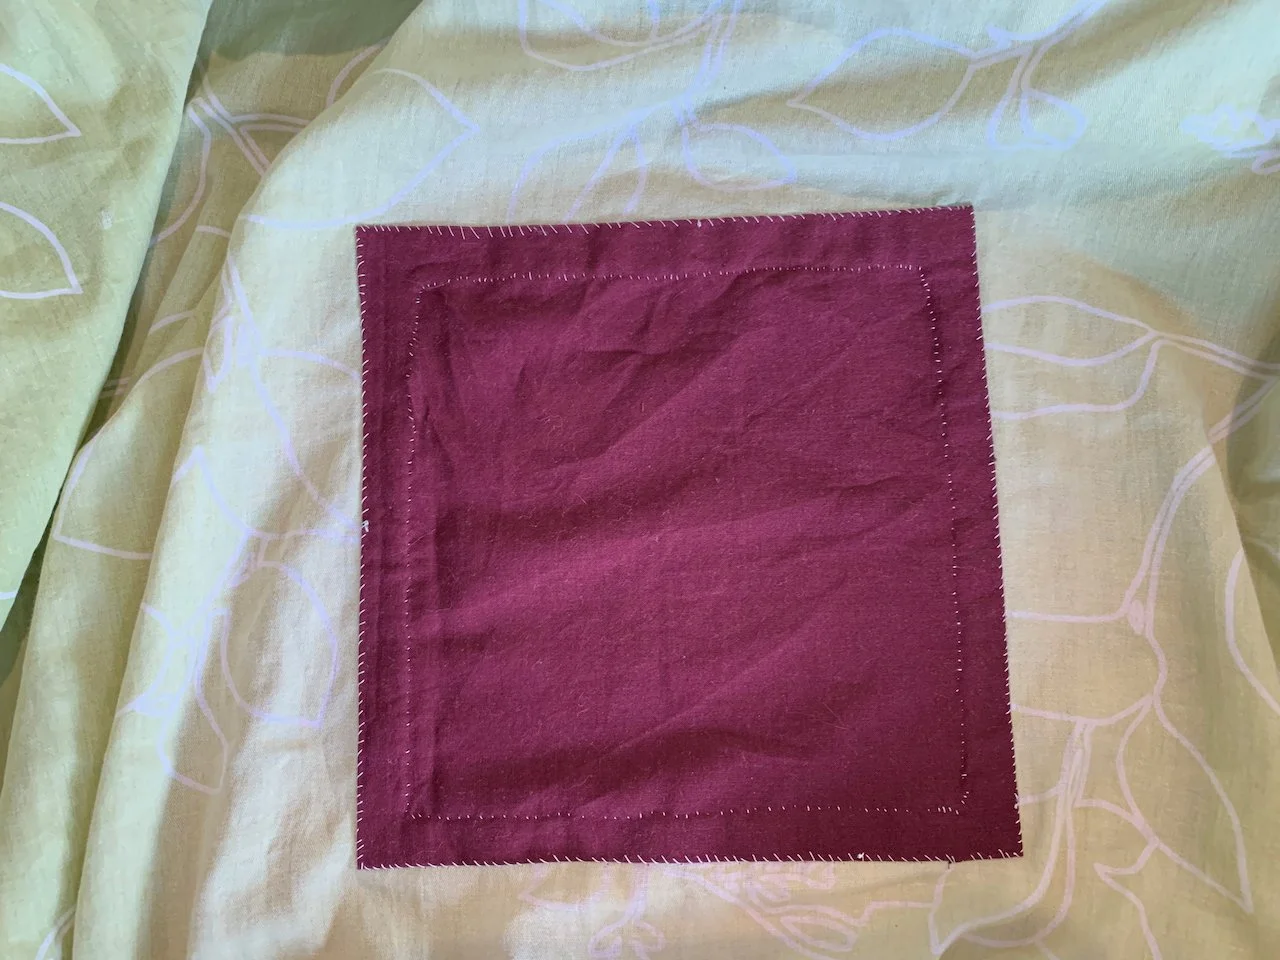
To here:
At first I checked the sheet to see how big my patch would have to be. I think I still ended up making it a bit too small. It does cover the whole hole, but on one side I noticed that the fabric is quite worn-out when sewing the patch on. It would be better to make the patch big enough to cover all of the worn-out fabric, I believe.
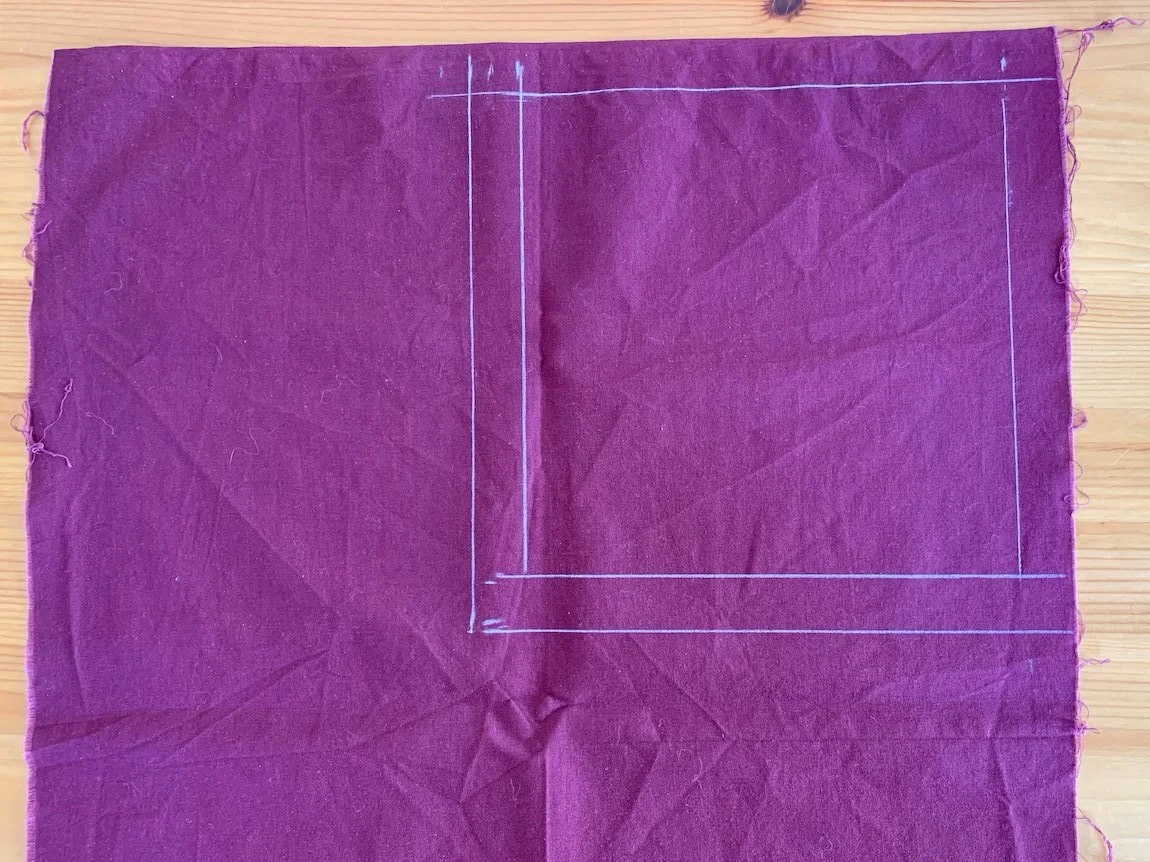
Since it is just a bed sheet that won’t be seen by anyone I used a piece of cotton cloth that I had at home, even though the colours don’t match.
On this piece of fabric I drew a square of the size that I wanted my patch to be. I also added 2cm of seem allowance, which s probably too much.
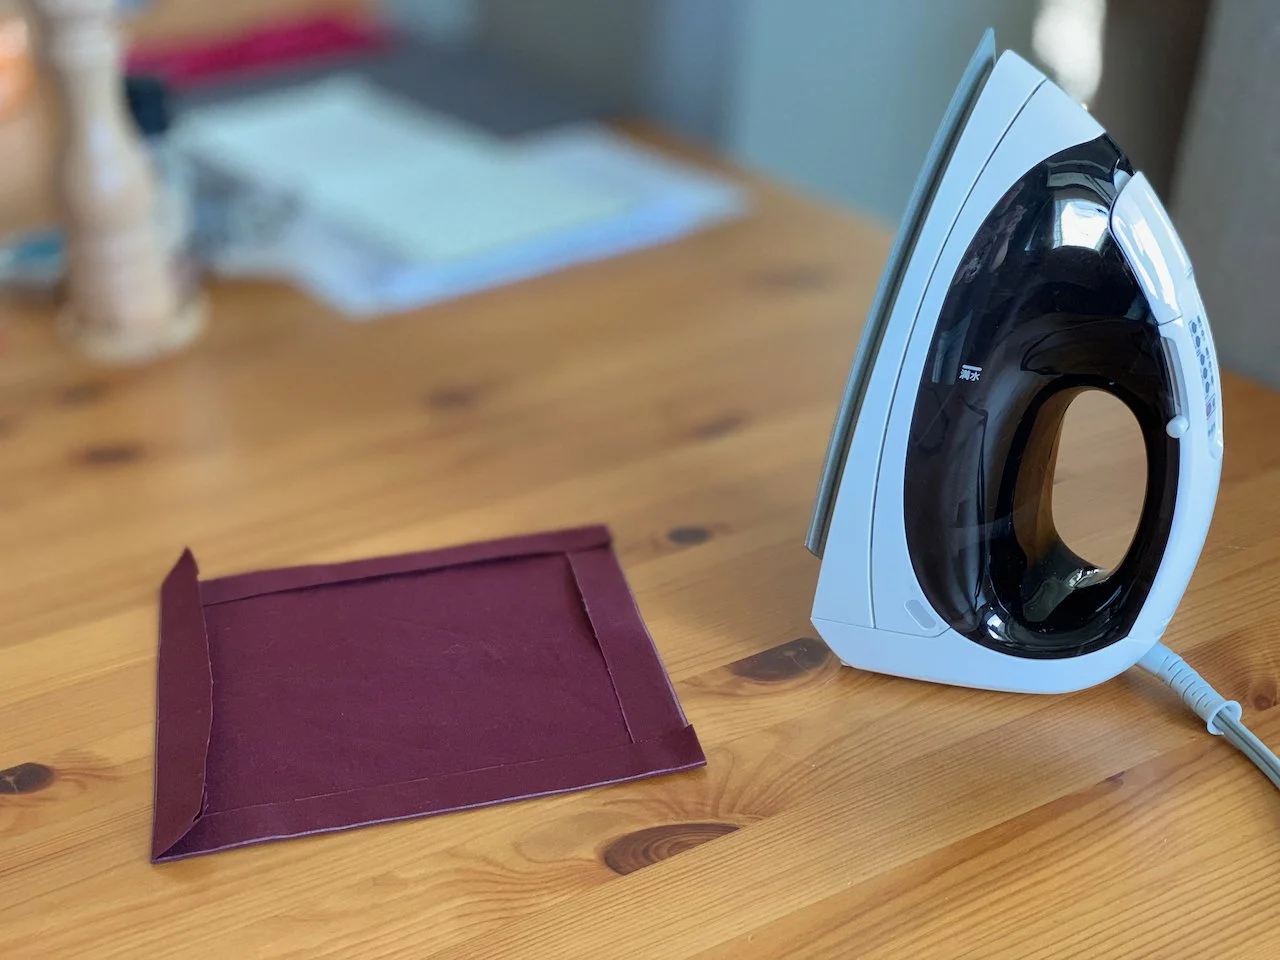
After cutting the square out along the outer line, I pressed the seem allowance in.
Next, I pinnt and later basted the patch on the write (that is the visible) side of the bed sheet over the tear.

Then I felled the patch on and removed the basting stitch again. First side done.

On the backside, I cut out a square of the torn bed sheet in the center of the patch, folded the edges in, and felled them down as well. This is where I noticed that either my seem allowance was too big, or I should have cut out a smaller square from the sheet. I was struggling a bit not to turn and fell too much of my seem allowance together with the sheet fabric, as this might have lead to a potentially uncomfortable bulge in the bed sheet.
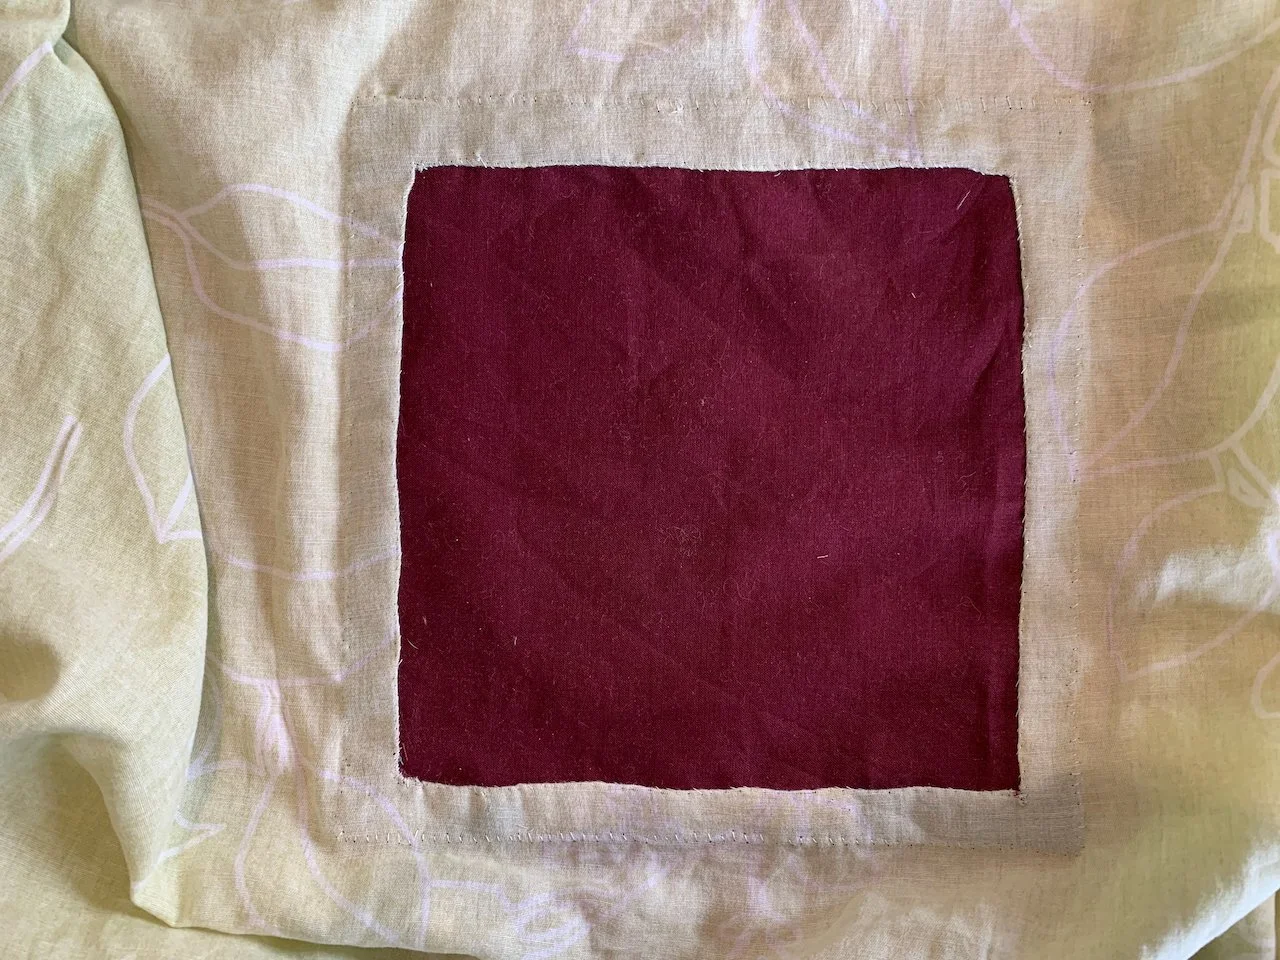
From the write side my patch ended up looking like this. Not extremely pretty, I still need more practice and patience for pretty, but nice enough for my purpose.
All that was left to do was washing and drying the sheet.
And the job was done.